Reference Tracks:How to improve your mixes with music benchmarking

Reference tracks are one of the simplest, yet most effective ways of improving the sound of your own music. In this article we’ll tell you how comparative mixing of tracks can help novice musicians and sound engineers to achieve their fullest potential.
Extensive work on one project can drive a musician into a certain space that does not allow them to finish the session. You can spend hours working on parts, rewriting guitars, rearranging and remixing a project, and yet still not reach the main thing — the finished track.
The problem often occurs because musicians put themself into a certain comfort zone, from which they are unwilling to leave, or perhaps they don’t know they are even in it. This isn’t all bad, a comfort zone relaxes a person, however it often blurs the ears and clouds the mind. As a result, we stop seeing the bigger picture of what we are striving for, and tend to move further and further away from finding fulfillment in the project.
But how do we find the bigger picture? This is where reference tracks and reference mixing come to the rescue, and tell you how the project compares against a background of other releases.
Reference mixing or comparative mixing is comparing a near-finished mix with mixed songs, other mix versions of the same project, or commercial recordings. Using reference tracks during mixing helps you gauge the overall quality of your mix and understand when work is complete.
How to use reference tracks
When put into words, everything looks simple: we take a high-quality mixed track and adjust our mix to its sound. However, with this approach, there are several things that need to be dealt with to make reference mixing as effective as possible.
Before you work with a reference track, remember the main thing: there is no correct information.
Despite thousands of opinions on how to mix music, there is no correct and 100% effective method. Apps and subscription-based websites might claim to offer automatic mixing based upon ‘perfect presets,’ however even these don’t work on everything. What is proper and right for one project is not always applicable for another — this is also true when using reference tracks.
The most important thing is that you like the sound of the mix, understanding this makes life much easier , Let’s see how to use reference tracks during mixing to make your mixes sound better.
Level mapping
One of the primary tasks when working with references is to achieve the maximum similarity in volume level between your mix and the reference track. The volume of each instrument should be identical or very close to what we hear on the master recording.

Sometimes the slightest changes in the volume of individual stem tracks have a powerful impact on the whole mix. The changes you make should affect the entire mix, and not result from psychoacoustic effects or changes in the signal chain.
Having adjusted the volume of the mix to the reference track, you may need to check the sound on several devices. It’s ideal to study the monitoring scales on the tracks, and the signal levels should not reach peak values.
Comparison before and after
Mastering is one of the clearest indicators of the quality of a mix. How the mixed track reacts to processing during mastering shows how well the mix is done. The mix after mastering should sound no worse than the selected commercial reference track.
Since mastering requires a certain amount of audio experience, it’s worth taking advantage of third-party plug-ins, technology which makes audio processing easier. A mastered mix will change in sound and tell you what else needs to be done to complete the mix.
If a kick drum sticks out in a track, clean it up and run the mix through a processor again. If there is not enough bass, raise its level and check again what happened.
What to look for in reference mixing
After matching the levels, you need to carefully look at the parts of the mix that distinguish the track from the reference composition.
The big picture of frequency balance
The overall frequency response of the track is one of the key factors in a comparison. In this case, special attention should be paid to the opposite edges of the frequency spectrum, the bottom and the top.
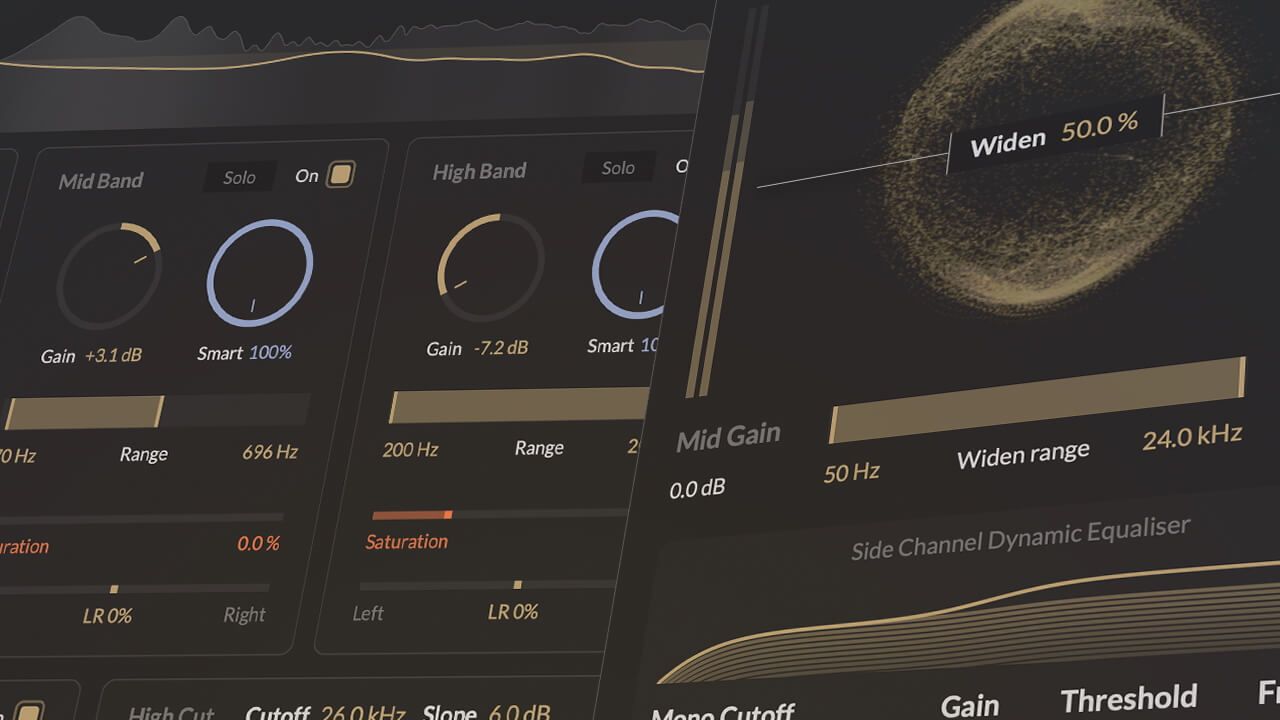
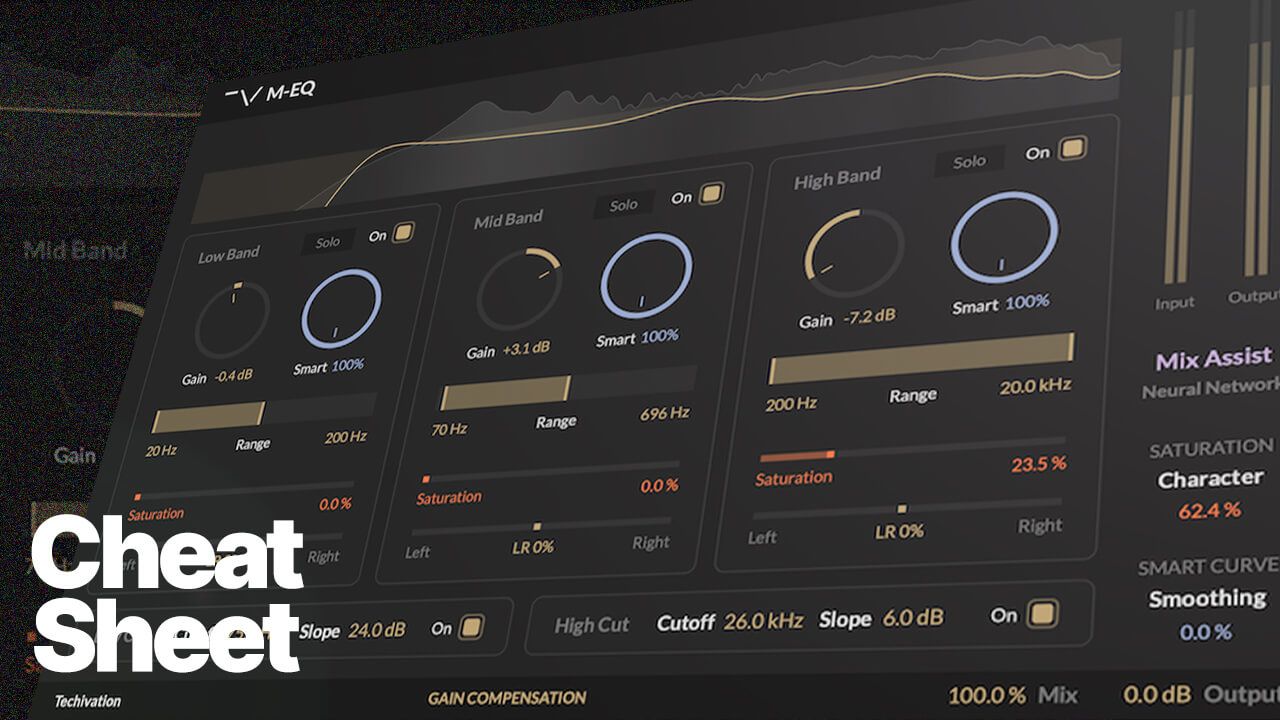
Amateur mixes often suffer from out-of-control booming. You can use the Techivation T-Clarity to remove any muddy and booming sound from a mix in a musical way.
Low frequencies, sharp hissing highs, as well as dips in the upper middle. T-De-Esser Pro is the perfect tool for this, however, you can start with the free Techivation T-De-Esser Plus plug-in for this task as well.

It’s often better to try to rely on your ears, but not visuals for the comparisons. The more complicated the User Interface of a DAW or plugin, the more distraction you face as you create. Techivation develops their products with clarity in mind, refining their products to contain only the best and most powerful functions.
Mix Dynamic Range
The overall dynamic range of a composition is the result of applying compression to the individual elements of a mix. The dynamic range varies from record to record, so it’s important to keep in mind what the dynamics standards are for your chosen style of music.
For example, to convey the energy of a track through the small speakers of consumer electronics, radio hits often have a narrower dynamic range. Jazz recordings, usually listened to on more serious equipment, on the contrary, are distinguished by a wide dynamic range.
If the dynamic range of the reference track is richer or leaner than the mix, you need to look for the cause of the differences. It is possible that the mix has been over-compressed or could have had the sounds compressed with better tools, or technique, and you have not taken into account where and how the song will sound.

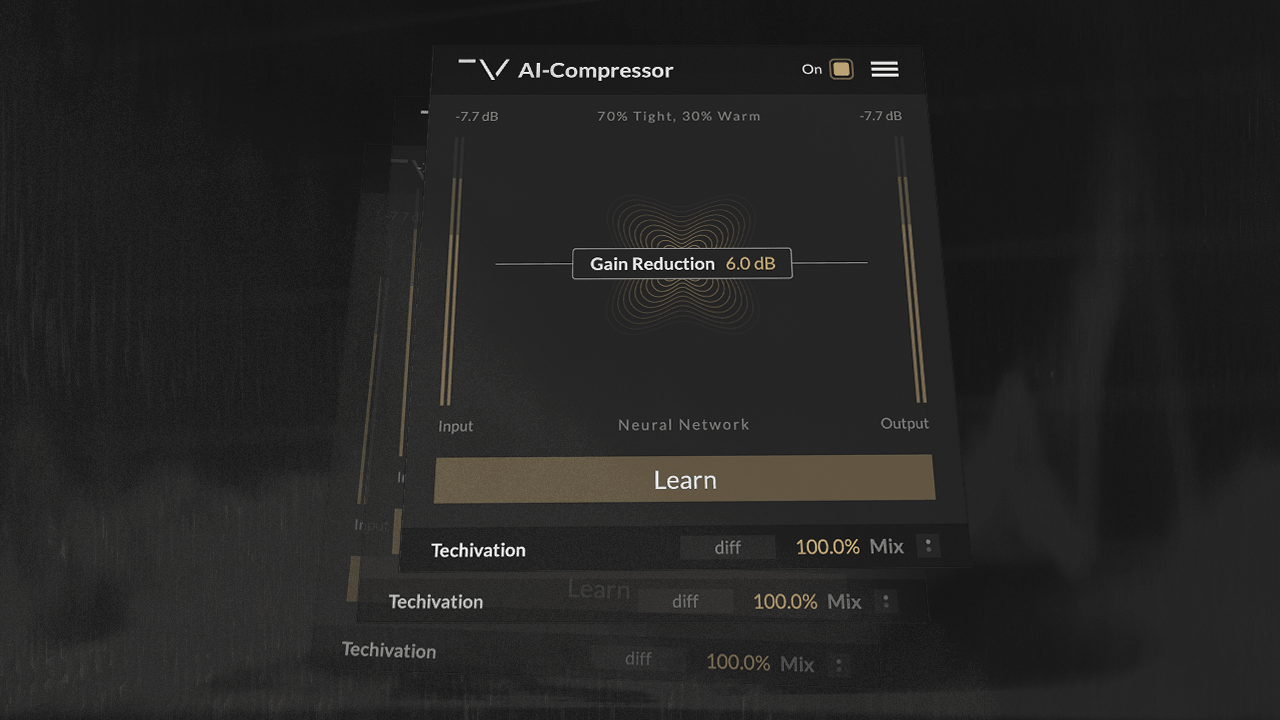
You can take advantage of creative tools such as the Techivation T-Compressor to give more attention to the details, using its unique features such as built-in serial compression, which brings out a whole lot of dynamics and parallel processing possibilities.
Levels and dynamic range of individual elements
Decide where each instrument will fit in the mix, and also find instruments that sound in the same frequency range. The reference track is a great example of how and where to place the instruments to minimize their influence on each other.
If you need a track to nicely cut through the mix, and bring an instrument to the front, or upper side of the mix, you can use a plug-in like the Techivation T-Exciter It lets you avoid harshness and keep the track musical and smooth while making it sound brighter.
As with dynamic range, instrument positioning is case specific.
Compare your project with the reference track and identify the loudest member of the arrangement in both compositions. Gently turn down the volume on the monitors until the instruments are barely audible. The instrument that remains the last clearly distinguishable sound before the full attenuation of the volume is the loudest participant in the mix.
The method of comparative mixing does not aim to create a completely identical track. The essence of the method is to understand, based on the quality work of another sound engineer, how to improve your own project.
What should be the reference tracks?
As comparative compositions, you can use any recordings that are stylistically close to the working draft. It is better to give preference to commercial mixes created by well-known producers and sound engineers - most likely, they will be more informative.
At the same time, it is useful to use previous versions of the project as another reference track, comparing the commercial mix, the current work, and its previous version. The comparison will show how real the changes made turned out to be and what else needs to be worked on.
Compare the sound of mixes on all types of equipment
The mix will be listened to on different equipment: in headphones, on a smartphone, in a car, at home, or on the street. For this reason, it is important to compare the reference tracks and your own project on as many audio devices as possible.
Check the sound of the project not only on studio monitors, but also on regular stereo speakers. Listen to the tracks in the car, in different types of headphones, and play both songs on your phone. Each of these devices will show exactly how the track sounds and tell you what needs to be changed in the project in order to achieve a better sound.
Use reference tracks as often as possible
Commercial mixes are a treasure trove of useful information. Despite its simplicity, reference mixing perfectly trains the sound engineer’s ear —you hear the differences, learn from the experience of professionals and understand what you need to pay attention to when polishing the mix.
Now that you know what to look for in reference mixing, open one of your projects and find reference tracks for comparison. It is likely that there is still work to be done in the song.
Share this Article
![M-EQ Review By Czar [Video]](https://cdn.sanity.io/images/9uzzx98j/production/341fd252af5cfdce3815b27290e6ccf6b1185b98-1280x720.jpg)