What is Upward Compression and why you need to try it
In audio engineering, compression is a fundamental tool for shaping your dynamics. When talking about compression, people are usually referring to “downward compression”, which is used to tame peaks and loud parts of audio signals. However, nestled within the array of dynamic processing techniques lies a lesser-known gem: upward compression. This technique operates reversely, selectively amplifying quieter sounds while leaving louder elements relatively untouched. In this article, we delve into the world of upward compression, uncovering its applications, benefits, and how the Techivation M-Compressor plugin operates to give you upward and downward compression (with a spectral twist)!
Compression Refresher
Before we start talking about upwards compression, let’s have a refresher on compression in general. Compression aims to reduce the dynamic range of a signal, meaning the difference between the quietest and loudest parts of the signal gets smaller, enabling you to control the level of the signal and smooth out any sudden changes in sound to put it in simple terms.
In “regular” compression, or downward compression, you set a threshold level above which a signal will be reduced by a certain amount, defined by the ratio. The speed at which the compressor springs in and out of action once the threshold is met is defined by the attack and release controls. These allow you to get creative with compression and shape the dynamics as you wish.
The purpose of downward compression is to bring down the output level when the signal goes above the threshold, thereby reducing the loudest peaks of your audio. In contrast, the purpose of upward compression is to bring up the output level when the signal goes below the threshold, bringing out the quieter details of the signal.
Why use Upward Compression?
Upward compression results in some interesting characteristics you can’t achieve with downward compression. By bringing up the level of the quieter parts of a signal while leaving the louder parts untouched, you can play with the decay and sustain of a signal, bringing out sustained notes or any quieter ambiences in the sound.
By bringing up the quieter sounds, you can give more of a sense of intimacy to your mix, such as with an acoustic guitar or softer ghost notes of drums. As with any dynamics processing, you can also go overboard and get some creative effects! While upward compression can subtly bring out all the lovely delicate parts of your audio, it can also bring out all the imperfections and the noise floor of your signal in general, which can be used to add some grunge to your mix!
Let’s hear it in action
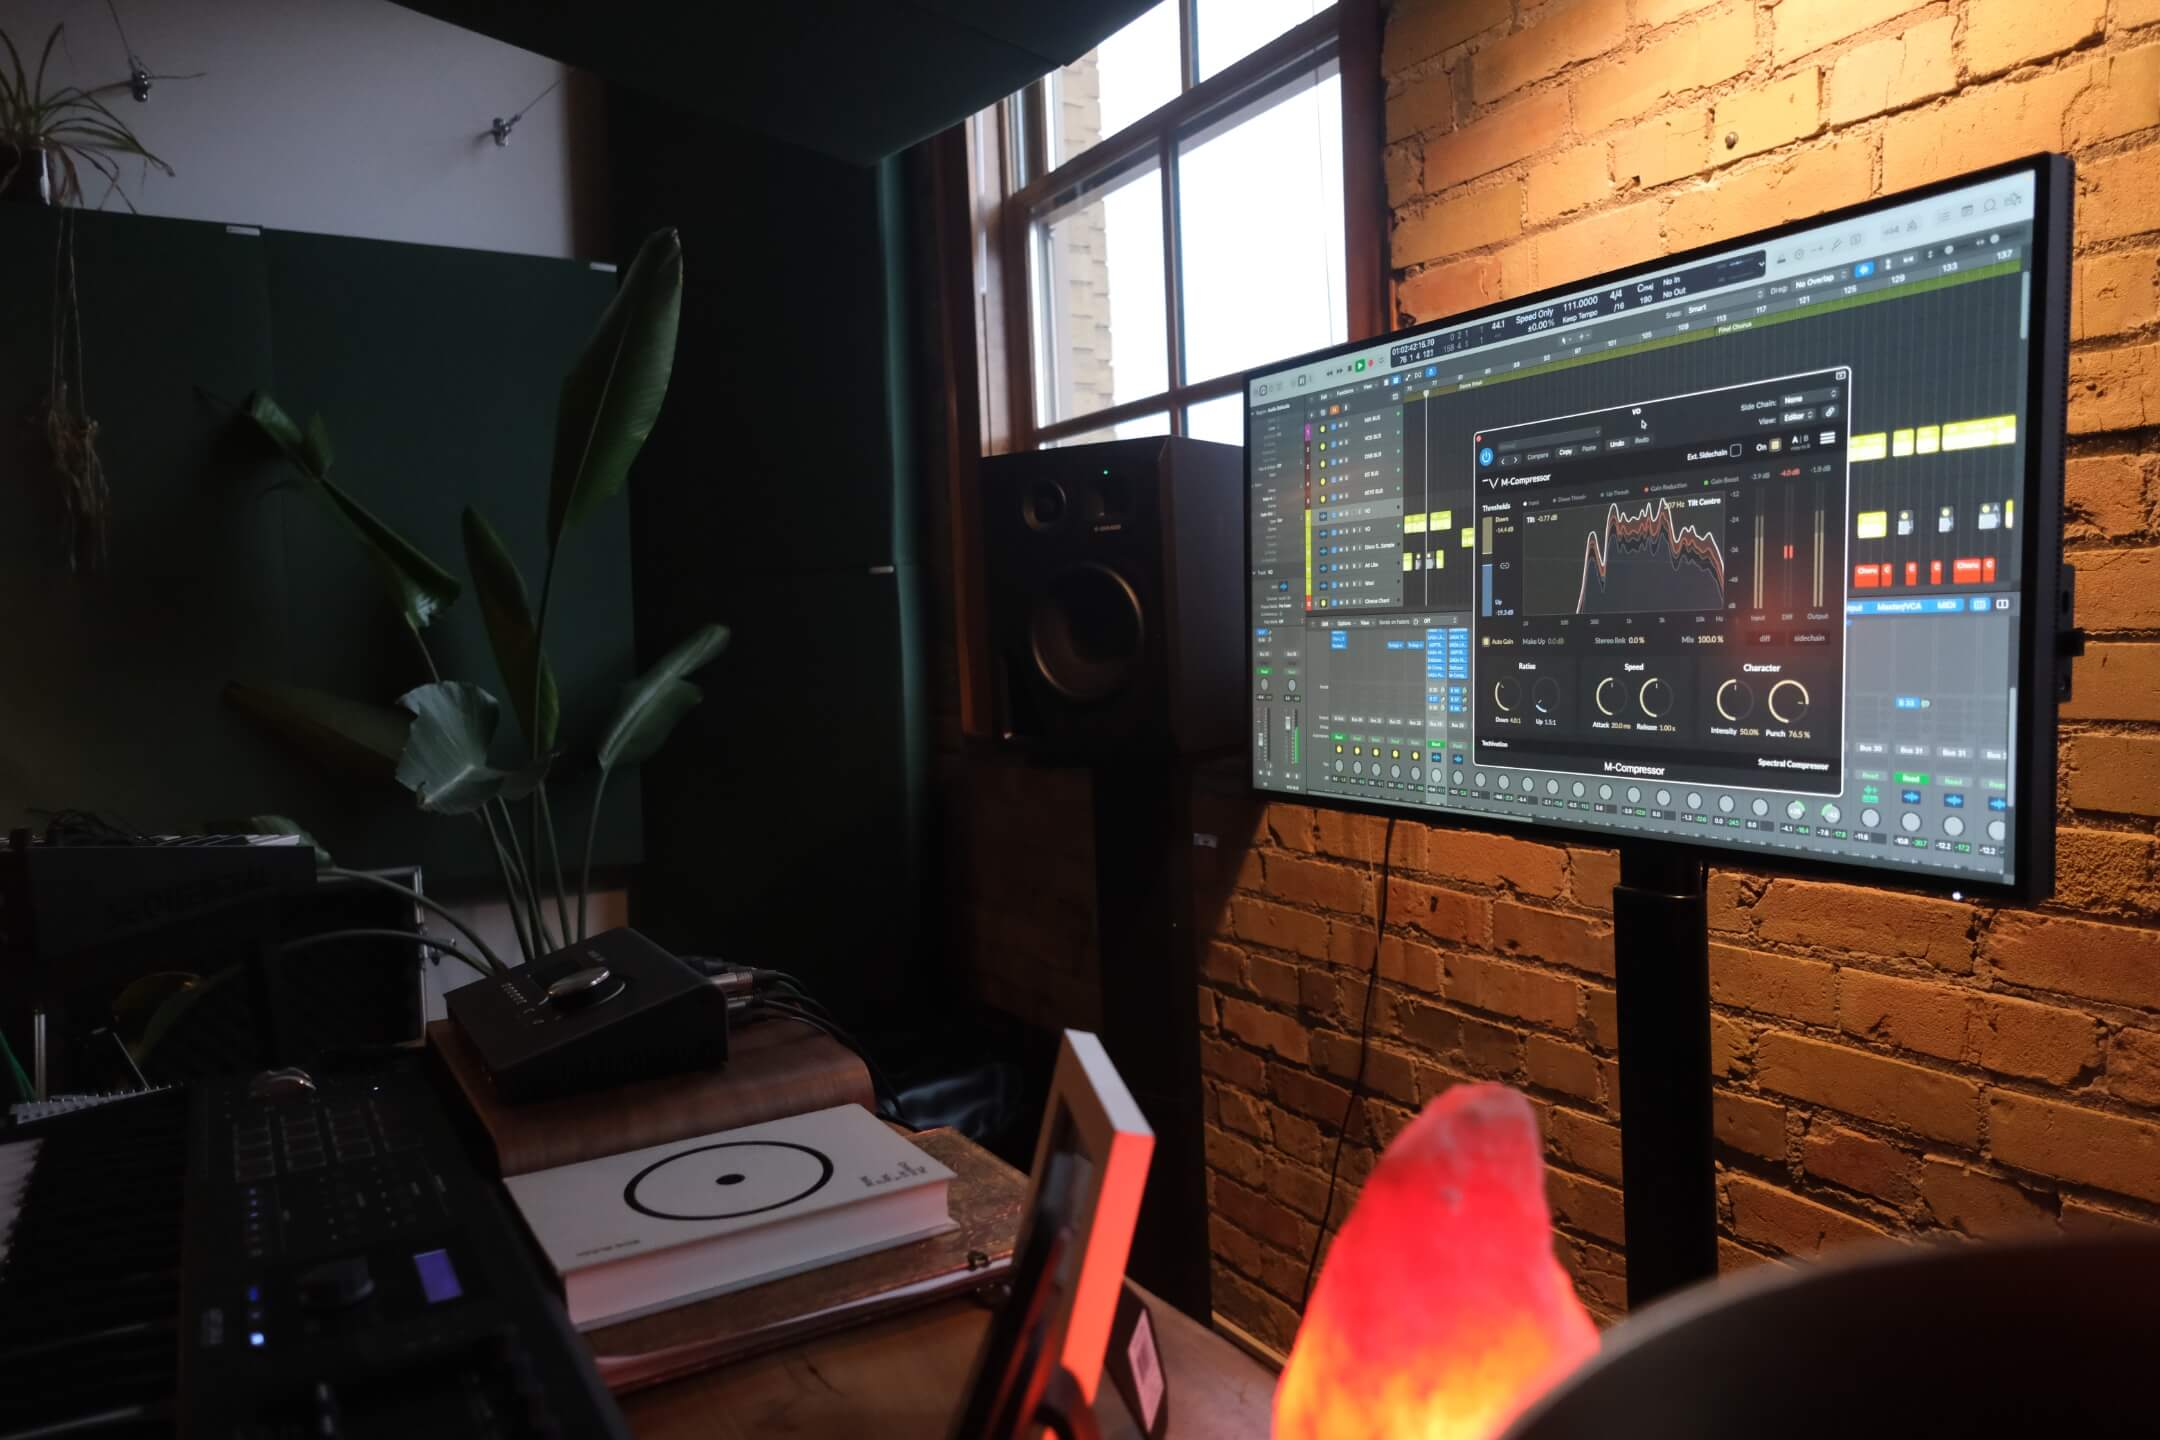
Let's listen to a couple of upward compression examples using the Techivation M-Compressor. While these examples are quite extreme to show what upward compression does, it should hopefully get some ideas going in terms of how you might be able to use it within the context of a mix:
M-Compressor: Bypassed
Before/After Comparison - Adding Weight to Kick & Snare
With upward compression on this guitar track, you can hear how it brings out the sustain and ambience of the recording, almost creating a swelling texture before the next chord comes in. The more subtle sounds of the guitar such as the fretboard noise and also accentuated (something you might not want depending on your preference - so something to watch out for!)
M-Compressor: Bypassed
Before/After Comparison - Adding Weight to Kick & Snare
This is another more aggressive and creative example where the upward compressor is driving up the ambience of the different elements of the drum break, creating almost a reversed snare kind of effect in places, and overall making the whole thing sound a lot closer and a bit more in your face.
How M-Compressor is different
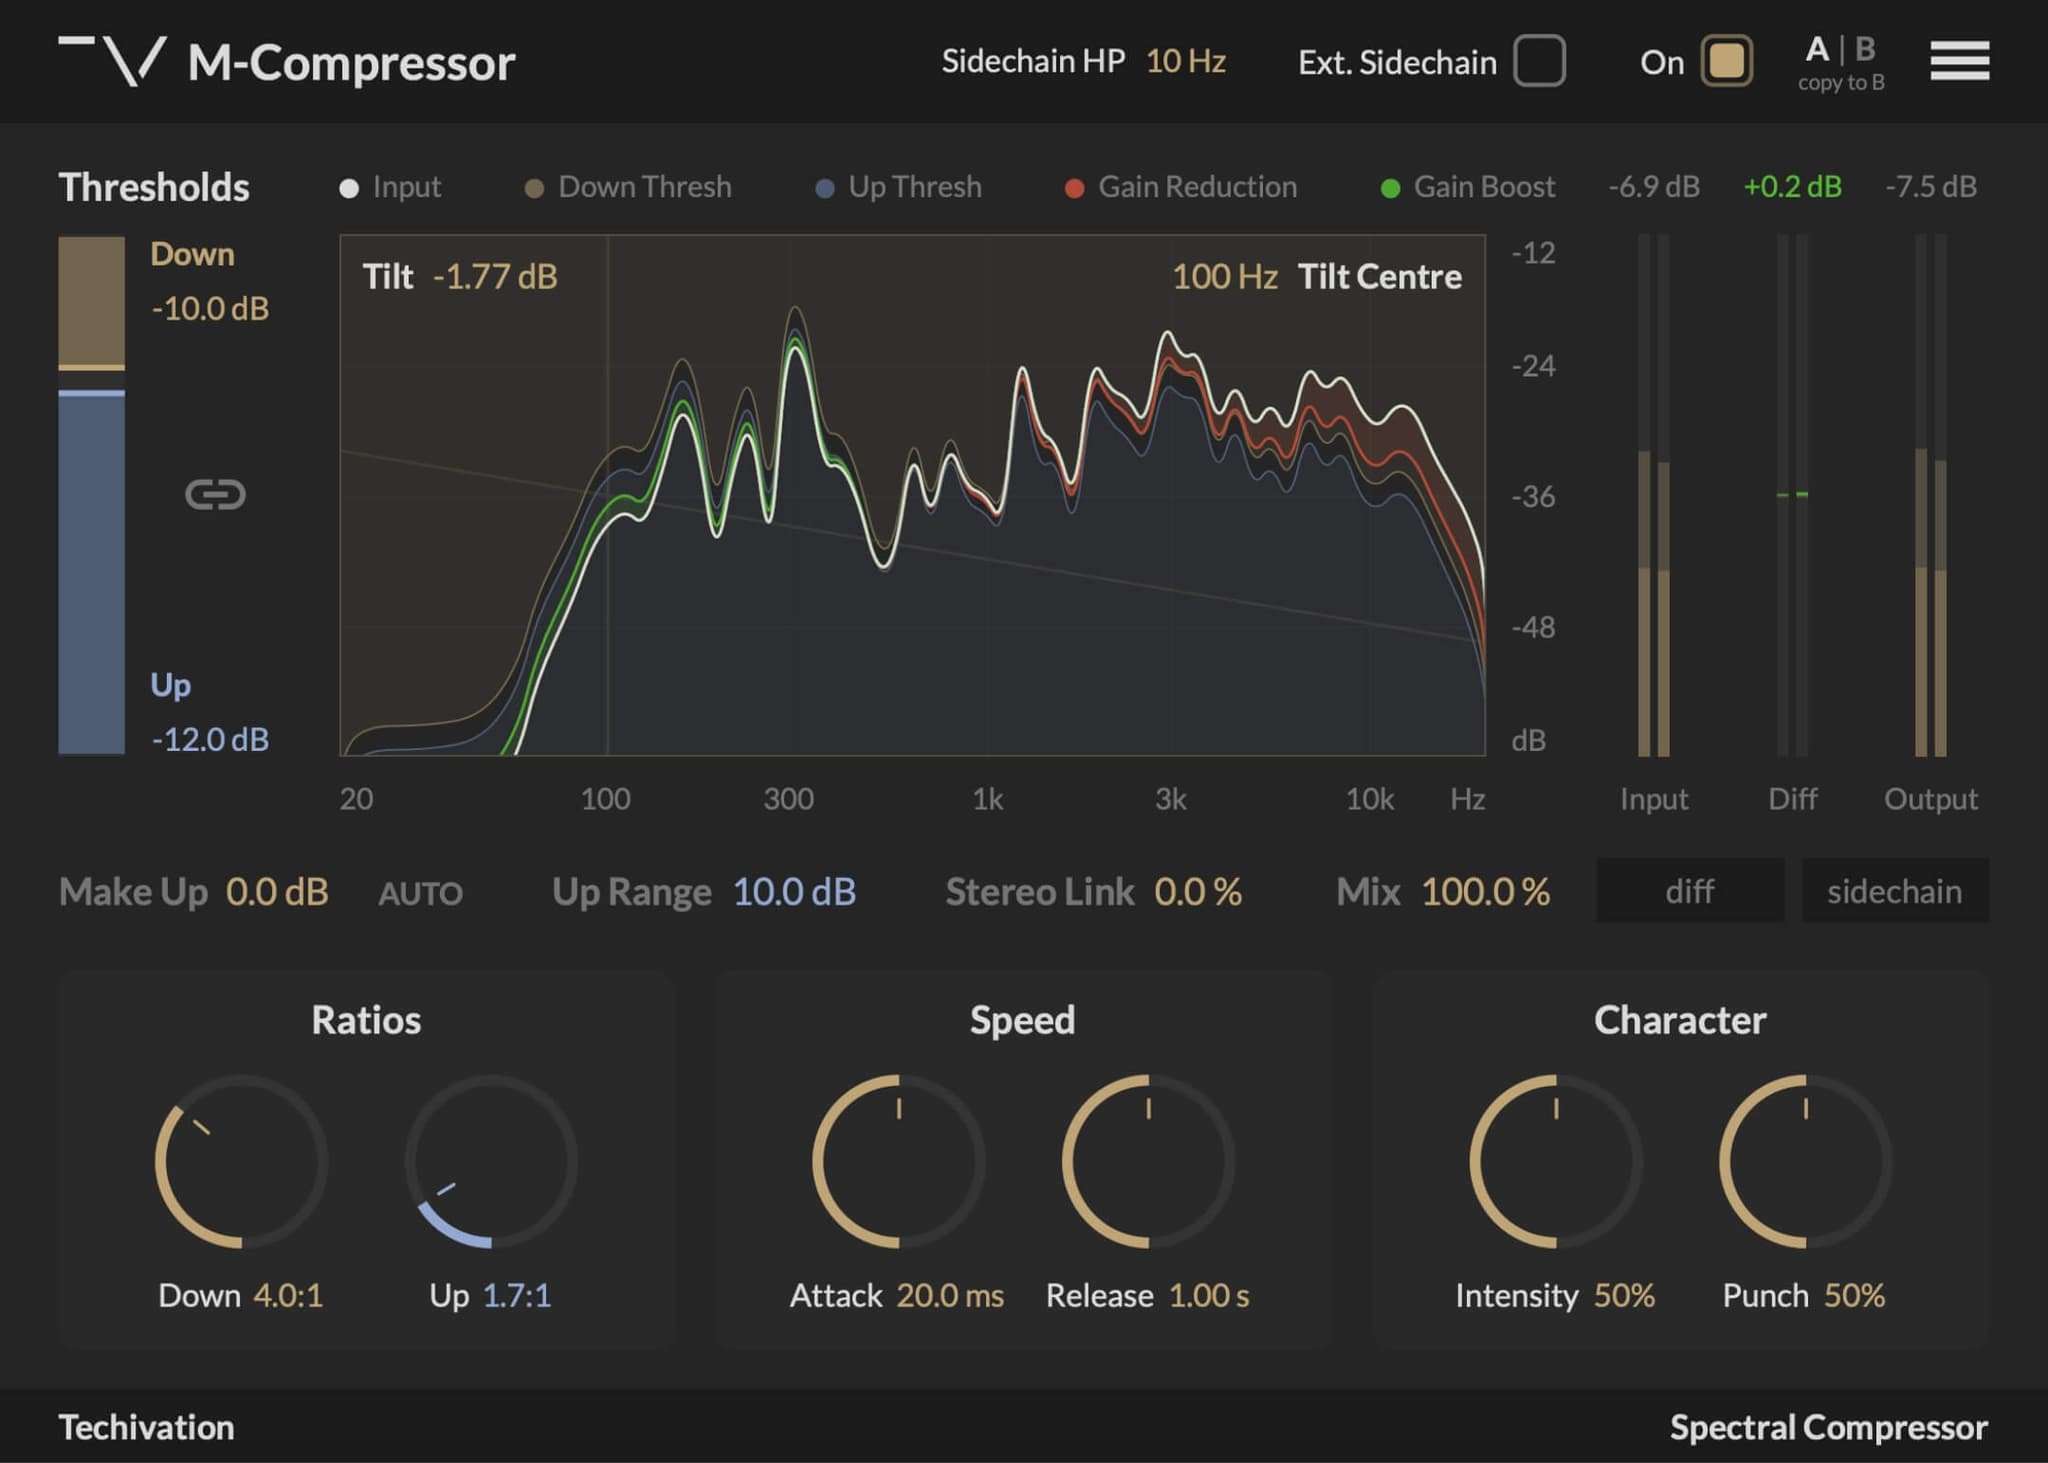
The Techivation M-Compressor plugin offers both downward and upward compression simultaneously, and with simple controls, so it’s incredibly easy to shape your dynamic range as you see fit. While there are other features we will discuss, the downward and upward compressor modes are simply controlled by two thresholds, two ratios, and joint attack and release times.
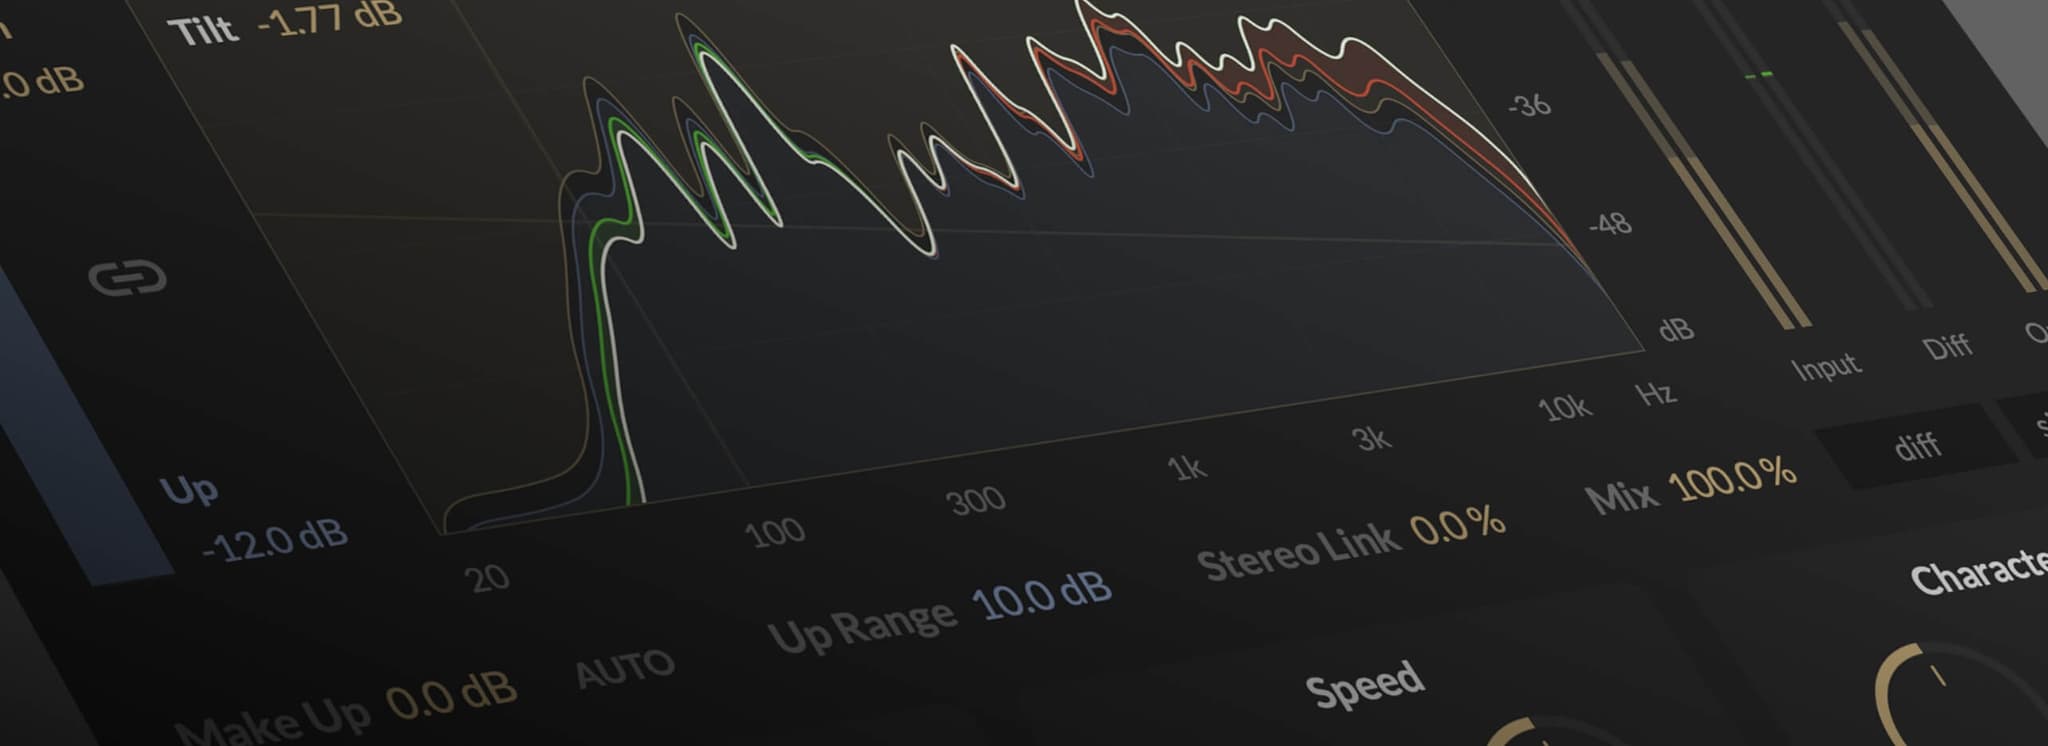
The main difference between M-Compressor and other compressors is its use of spectral processing. Regular compressors will adjust the overall signal level based on the threshold value, however with M-Compressor, it works using the signal’s frequency spectrum. Individual frequencies are compressed based on their levels relative to the spectral threshold curve. The shape of the spectral threshold is dynamically changed by the spectral contour of the input signal, ensuring that compression is balanced across the spectrum without over-compressing the lows, and under-compressing the highs as is common for regular compressors.
The implementation of spectral processing also ensures that the tonal balance of the source is unchanged. However, if you do want to change it up, you can make use of the Tilt Control to shift the balance up or down in frequency. There are also a few other controls that can help you further craft your sound such as the Character controls, Intensity and Punch. Intensity controls how hard or soft the compression character is, while Punch controls transient emphasis, with lower values softening the attack of the transient, and higher values emphasising the attacks.
Conclusion
Upward Compression is a lesser-known technique you can use to craft your mixes and is one you should definitely experiment with. It’s perfect for bringing out the softer details, nuances and ambiences of your audio, but can also give some creative and aggressive results. With M-Compressor, you can take control of your upward compression in an incredibly easy-to-use plugin, while also getting the benefits of spectral processing, something a regular compressor won’t do!
If you want to try M-Compressor out for yourself, you can download a free 14-day trial here.
Written By Harry Lewis
Share this Article
Featured in this post

