

3 Tips on Using the T-De-Esser on Drums
The Techivation T-De-Esser is the ideal tool for smoothing out the high frequencies of pretty much any kind of sound source. It is an especially powerful tool when it comes to mixing overheads and drums.
Now let’s check out 3 tips for taking advantage of T-De-Esser, to make your drum tracks sound bright and smooth.
It doesn’t matter if they’re acoustic or electronic drums. These tips work well on any kind.
1. EQ Up, De-Esser On, EQ Down
Put an EQ on your drum track. Boost the high frequencies all the way up until it’s a bit brighter than how you want it to sound. Then engage the T-De-Esser and test its settings until it sounds good. At this stage, mainly focus on changing the “Processing” knob to get the right sound.
Now bypass the T-De-Esser, and lower the boost on the EQ until it doesn’t sound too bright anymore. Engage the T-De-Esser again and it should sound much smoother.
Sometimes you should lower the “Processing” knob just a bit more after decreasing the EQ boost at the final stage. That’s because the changes in the EQ will change its output amplitude.
2. Glue the drums together with T-De-Esser
The T-De-Esser is designed mainly to take care of the high sounds, but if you get creative with it, it can also be used for more overarching things, like the glue effect on your drum buss!

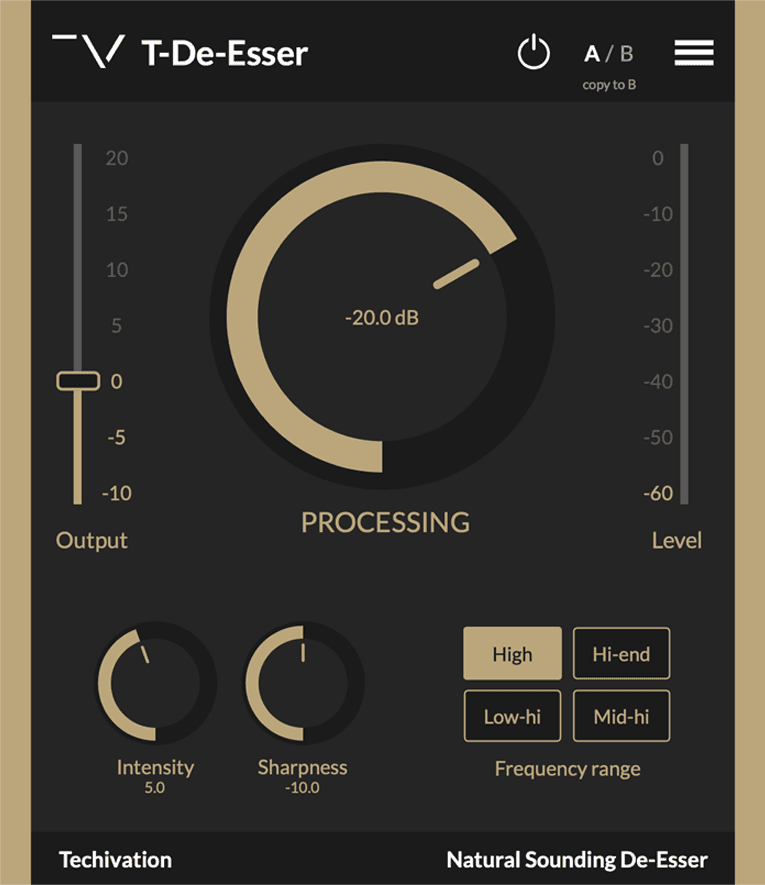
Try putting the “Intensity” at 1.1, and the “Sharpness” at-20.0. Then bring down the “Processing” knob massively until you get a noticeable amount of gain reduction. You will feel that the drum tracks are now more glued to each other. If you need to decrease the glue effect, you can do it by increasing both “sharpness” and “processing”.
3. Parallel Processing
Duplicate your drum track. Make the first one play solo. Then, put an EQ on it, cut the lows and boost the highs all the way up until it sounds very bright. Then put the T-De-Esser on it, find the right setting to give it a smooth sound (don’t worry about the low sounds yet).
Then bring down the drum track # 1’s volume to 0 (the one you just edited).
Now it’s time to solo the drum track # 2 as well. Leave it the way it is and just bring up the volume of the drum track # 1 slightly to have it mixed with the #2. You will then find a good spot where it sounds bright and smooth while being played together.
Feel free to try out these techniques on different sound sources, like vocals, or implement them differently to your own taste.
Photo By Ben Jacquier


.jpg&w=3840&q=75)