What makes M-Blender a Game Changer
One of the ongoing challenges that we all face when mixing is the clash of frequencies between tracks. Have you ever been hours deep in a mix, desperately fighting against a muddy and unclear sound with little to no progress? This article explores how the Techivation M-Blender plugin can come to your rescue, significantly enhancing the clarity and detail of your mixes while streamlining your workflow and preserving your creative flow.
Unmasking the Issue
So why do you even need a plugin to clean up frequencies? In a mix, each instrument or element takes up a range of the frequency spectrum, for example, bass guitars hold a lot of energy in the lower frequencies, whereas cymbals almost exclusively operate in the higher frequencies. All good so far, but add more elements, and things can get messy! Perhaps you want to bring out that kick drum punch, but no matter what you do, that perfect bass synth you spent hours crafting just blocks it from coming through clearly. This is an example of what’s known as Frequency Masking, when certain frequencies overpower or overshadow others, causing elements to compete rather than complement each other.
This frequency clash can result in a murky, indistinct sound, making it difficult for the individual parts to be heard clearly and affecting the overall quality of the mix. Engineers use techniques like “frequency carving” with EQ, sidechain compression, or simple panning to try and reduce the effects of frequency masking, however, these solutions can be time-consuming, and fall short at times.
Enter M-Blender
M-Blender is one of a handful of plugins that can automatically help create space in your mix by “cleaning” any clashing frequencies. Other plugins of this nature tend to work by analyzing a side chain signal and applying a reverse EQ to try and create space in the mix, some even use multiband dynamic processors (with the added impact of some undesirable phase issues). M-Blender on the other hand is equipped with a true spectral processing algorithm which dynamically carves out space for the side chain signal, without sacrificing audio quality or causing phasing issues.
Hearing is Believing
To truly appreciate the power of M-Blender, let's dive into some sound examples. These snippets illustrate how M-Blender addresses frequency clashes, bringing clarity and definition to the mix - make sure you listen on some headphones or speakers if you can.
Example 1: Vocals and Reverb
M-Blender: Bypassed
Before/After Comparison - Adding Weight to Kick & Snare
Who doesn’t love a ton of reverb on a vocal? What if instead of drowning your vocals in a luscious reverb, you could have it float gracefully on top? By applying M-Blender to a vocal reverb, you can crank the reverb without worrying about overpowering the vocals, M-Blender will keep the reverb out of the way, ensuring your vocals cut through at all times!
Example 2: Kick and Bass
M-Blender: Bypassed
Before/After Comparison - Adding Weight to Kick & Snare
Getting your kick to cut through the mix, especially when surrounded by energetic basslines and synths can be tough, but shove M-Blender on your bass track and straight away you can hear the kick cut through, and as a bonus, you did it without losing the energy of your basslines.
Example 3: Piano Melodies
M-Blender: Bypassed
Before/After Comparison - Adding Weight to Kick & Snare
So you’ve decided that one melody on the piano just isn’t enough! On their own the melodies sound great, but together they just sound unclear and lost. Using M-Blender in this scenario carves out dedicated frequencies for each, making it much clearer when both are played at the same time.
Keep in mind that these examples only show the impact of M-Blender between two different instruments. Imagine what it could do throughout an entire mix as things really start to get busy, whether working on individual parts or even on buses with multiple parts at once!
Clean Sound, Clean Control
So by now we should be in agreement that it sounds pretty awesome, but surely something like this will come with a steep learning curve? In fact, it couldn’t be simpler!
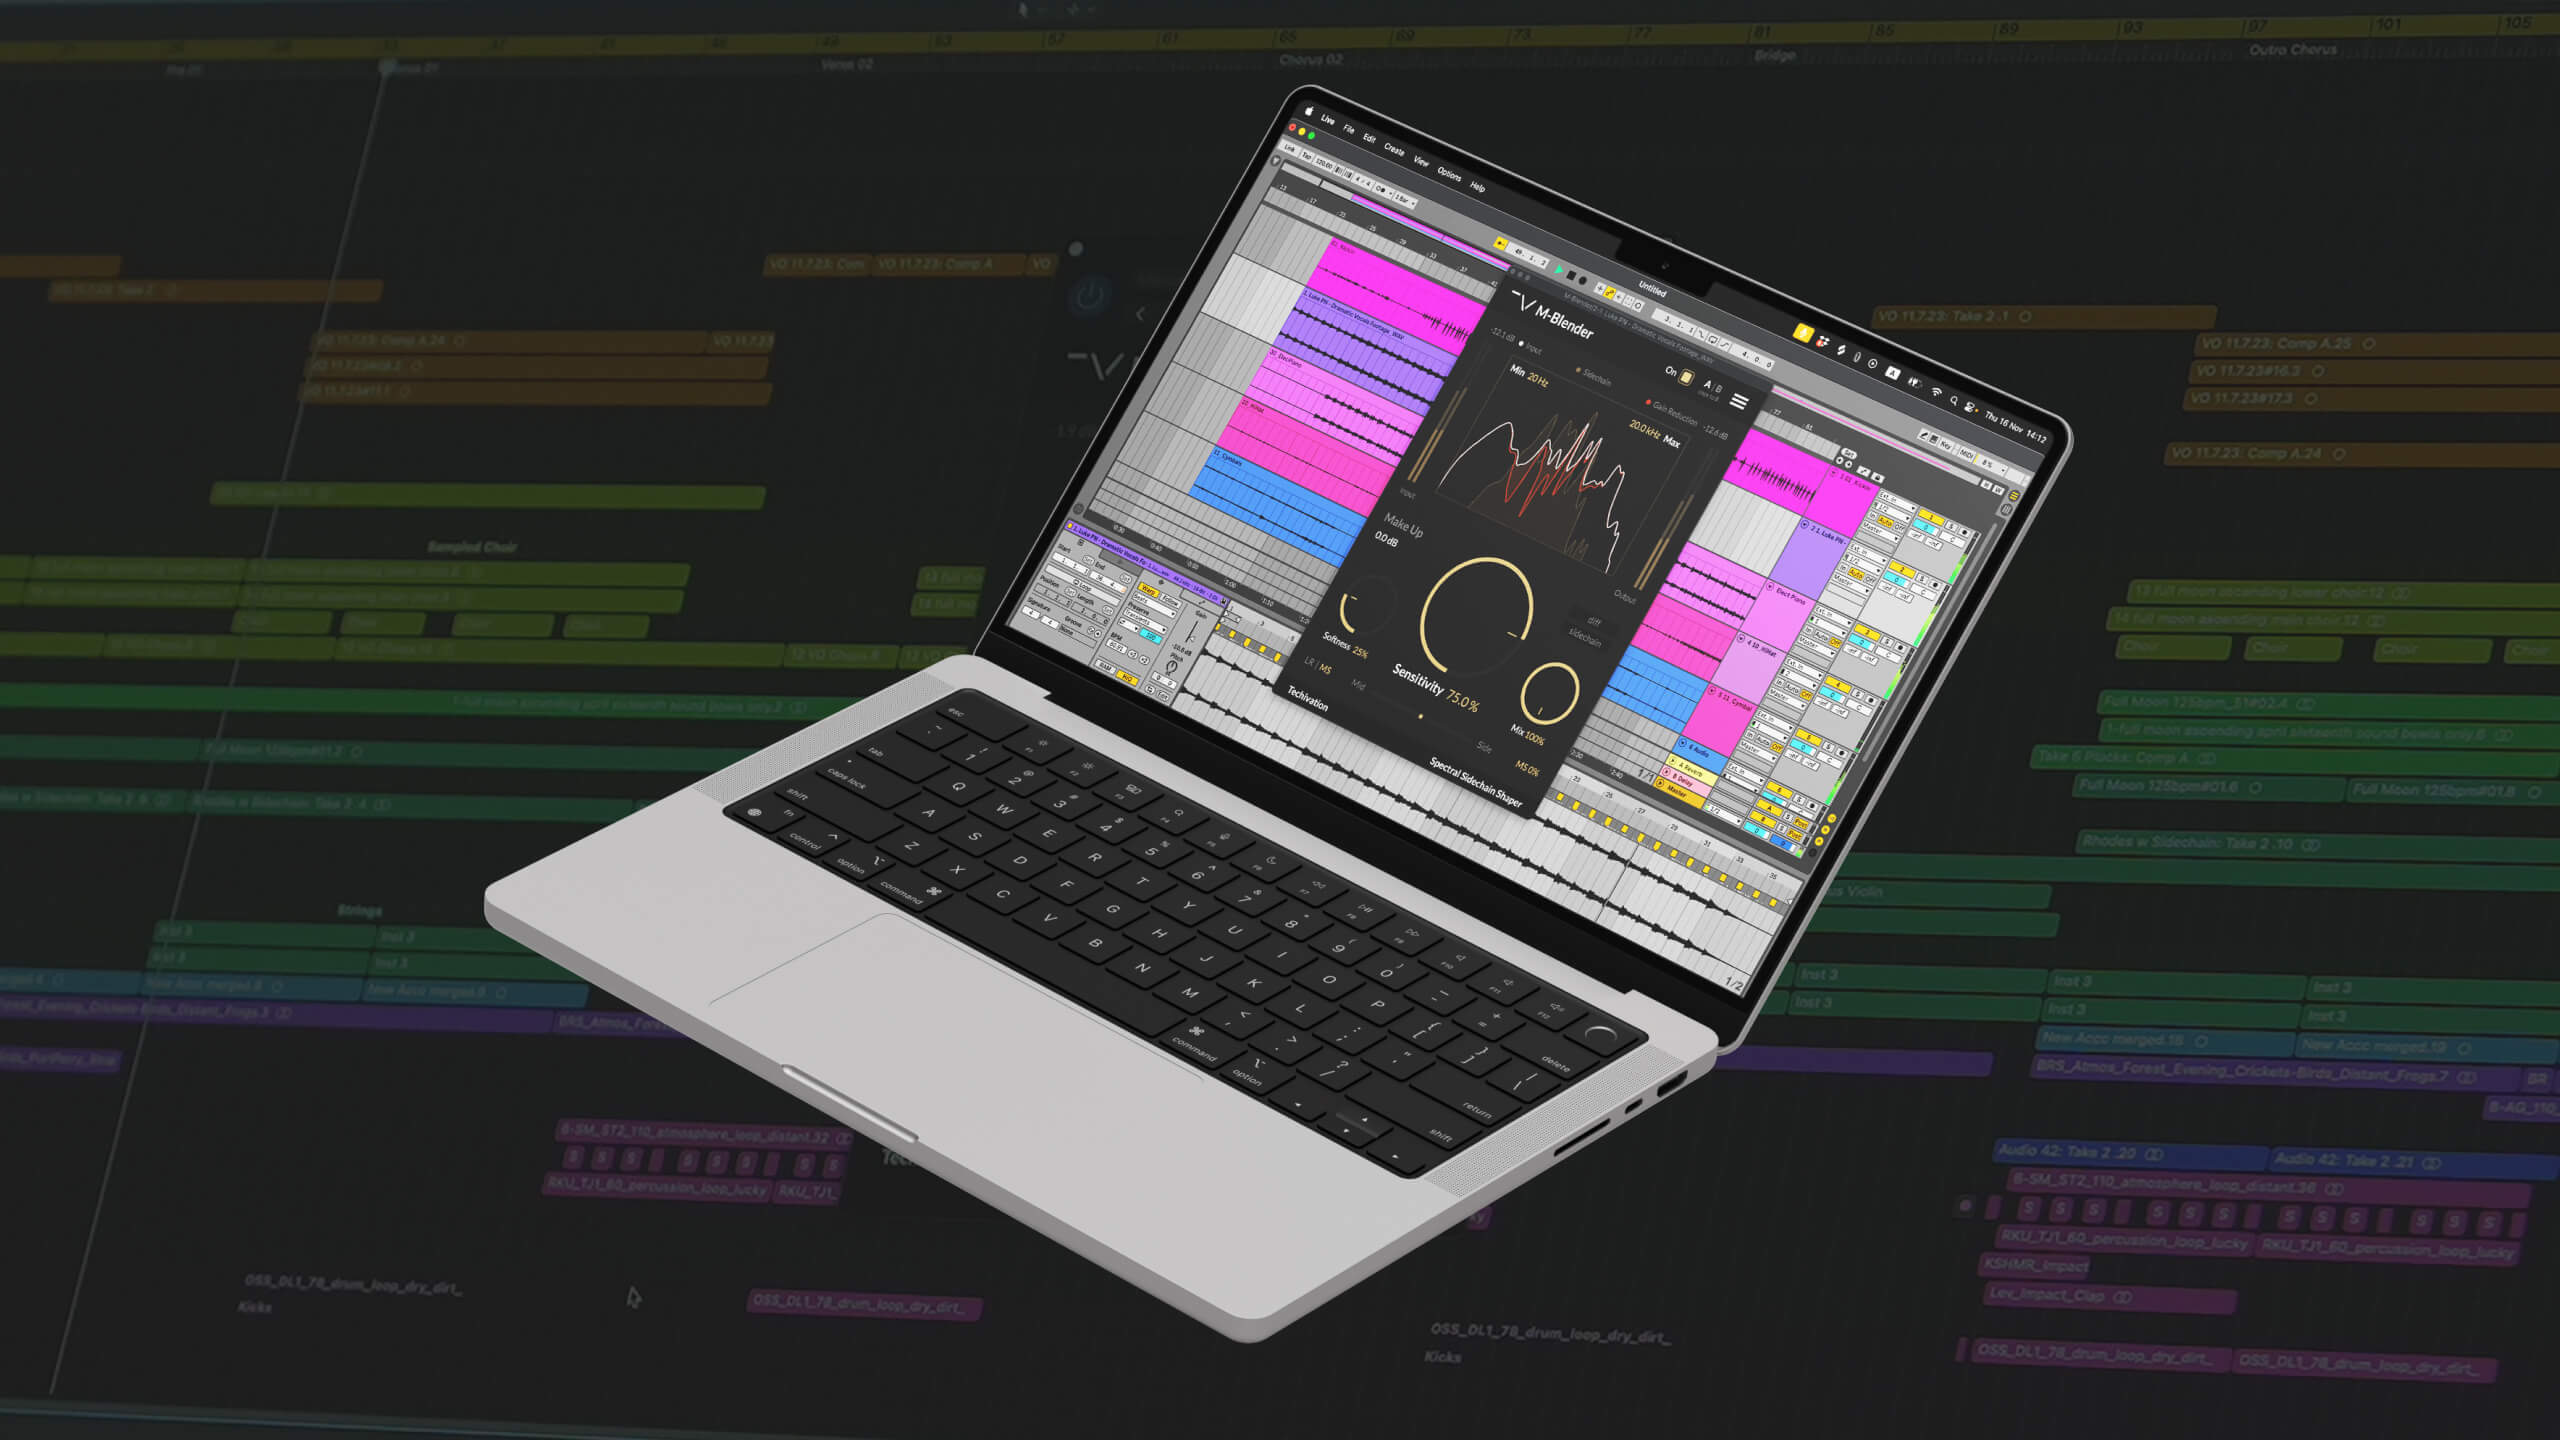
The core functionality of M-Blender can be controlled with just a few parameters. It’s as simple as placing the M-Blender plugin on one track, and then sending a second track to the sidechain. The track with the M-Blender plugin will now have frequencies suppressed through the spectral processing, carving space for the side-chain signal.
The amount of spectral suppression is controlled with the Sensitivity control, so a higher sensitivity value will result in more space being carved out for your sidechain signal. As well as hearing it, you can see the spectral adjustments being applied in real-time using the Spectral Analyser. To accompany the Sensitivity control is Softness, which controls the spectral suppression smoothing and Make Up Gain to bring the processed signal back to the unprocessed level. As an optional bonus, you can set the Frequency Range, enabling you to restrict the processing to a specified frequency range.
On top of these M-Blender-specific features, you still have access to all the tried and tested Techivation plugin parameters such as Dry/Wet Mix, LR or MS modes, delta listening, presets and much more.
Elevate Your Mix with M-Blender
So there you have it, the secret weapon against the frustrations of frequency masking. The M-Blender plugin has been designed to solve a complex and, let’s be honest, boring task in a matter of minutes, enabling you to spend less time fixing, and more time creating.
With its true spectral processing, delicately and dynamically carving out room for each instrument to breathe, it removes frequency clashes without compromising your audio quality.
If you want to try it out for yourself, you can grab a 14-day free trial of M-Blender today, you won’t regret it!
Written By Harry Lewis
Share this Article
Featured in this post
![M-EQ Review By Czar [Video]](https://cdn.sanity.io/images/9uzzx98j/production/341fd252af5cfdce3815b27290e6ccf6b1185b98-1280x720.jpg)