Why You Should Use Saturation In Your Productions
Intro
In audio, saturation is the gentle distortion and compression that occurs when overloading a signal through an electrical unit such as a mic preamp, mixing desk, tape machine, or in the digital world — plug-ins.
There's plenty of words we use to describe saturated sounds, depending on the context, the amount and even the frequency range. It can sound ‘warm', 'smooth', 'airy', 'gritty', ‘analogue’. It can add character and vibe to individual tracks or a whole song.
Here's some ways you can use saturation to improve your productions and mixes.
Help Low Frequency Instruments Cut Through
Small speakers (like the ones on your phone, laptop or portable Bluetooth speaker) reproduce a smaller frequency range compared to your studio monitors or headphones. In particular, you can’t hear all the low or sub frequencies through them, say anything below 80-100 Hz.
This means you’ll need to be strategic to make your mix translate on small speakers. Using saturation on lower range instruments like a bass, for example, can introduce new harmonics in the higher frequency range that small speakers can produce, making your bass now audible through them.
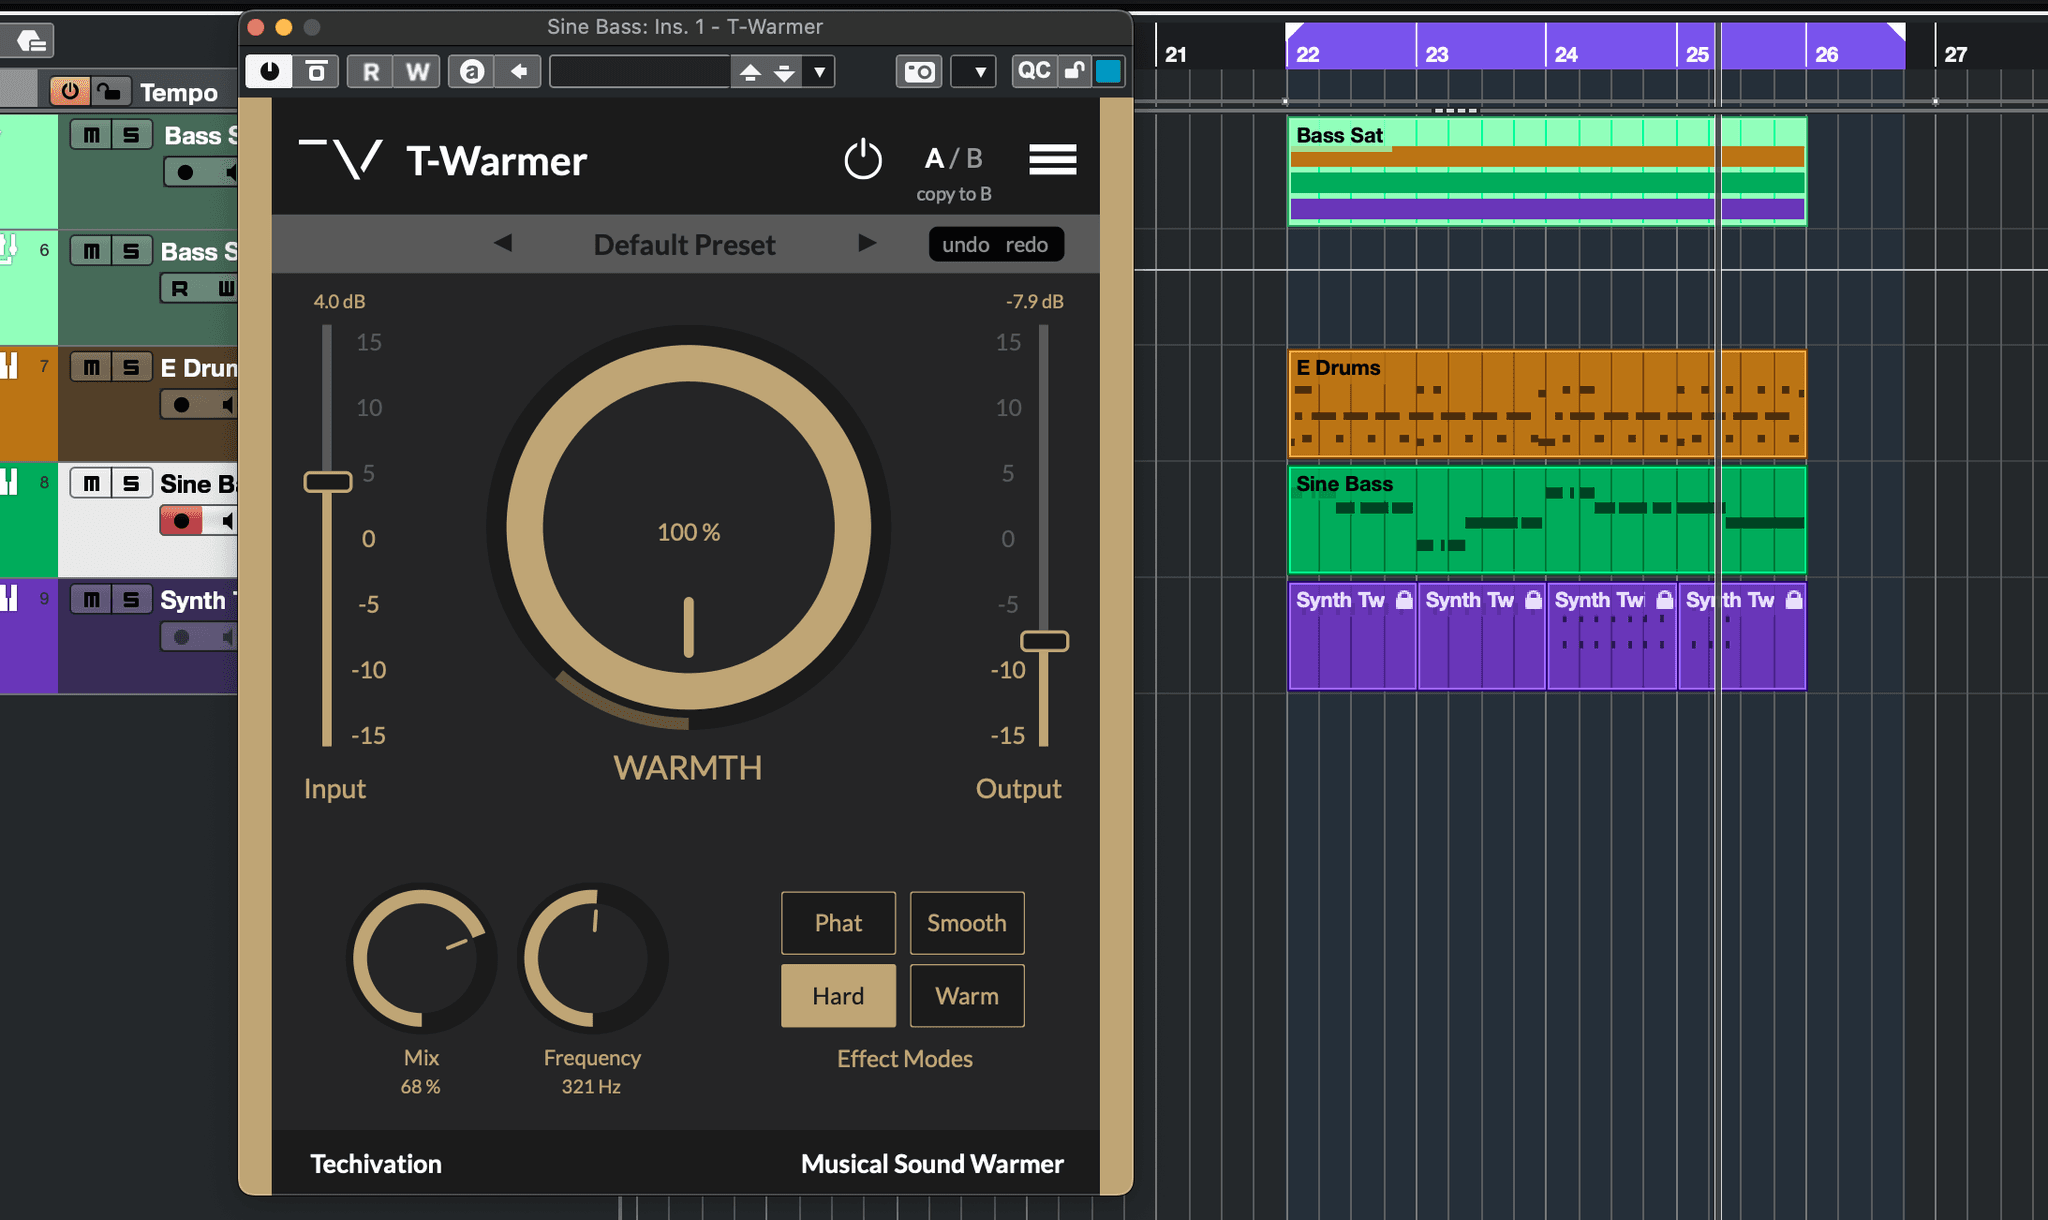
Here I’ve taken a sine wave at 100 Hz and added saturation using T-Warmer, with a frequency analyser before and after.

After adding T-Warmer, new harmonics are introduced above 100 Hz, and the volume is now (in this case) 5dB louder.
If we apply this in the context of a mix, I can use saturation to help my bass cut through the other instruments and be more audible on smaller speakers, earbuds, car stereo, etc.
Enhance A Whole Mix
Saturation can sound great on an entire mix. By applying it to your mix bus or master fader, you can affect all the tracks as a whole. There’s a couple of benefits to this.
The light compression it does can ‘glue’ a mix together, making the tracks sound more cohesive and less like separate elements. It’s reducing the dynamic range a little, which helps keep the overall volume upfront and consistent. A little goes a long way, and is often considered a vital ingredient in polishing a final mix.
The added harmonics can help improve a mix that is flat, thin, and lifeless. Depending on the frequency range you’re adding the saturation to, it can bring weight, sheen, presence, and plenty of other attributes. This is different to boosting with EQ, as EQ can’t add frequencies that don’t already exist in the source material.
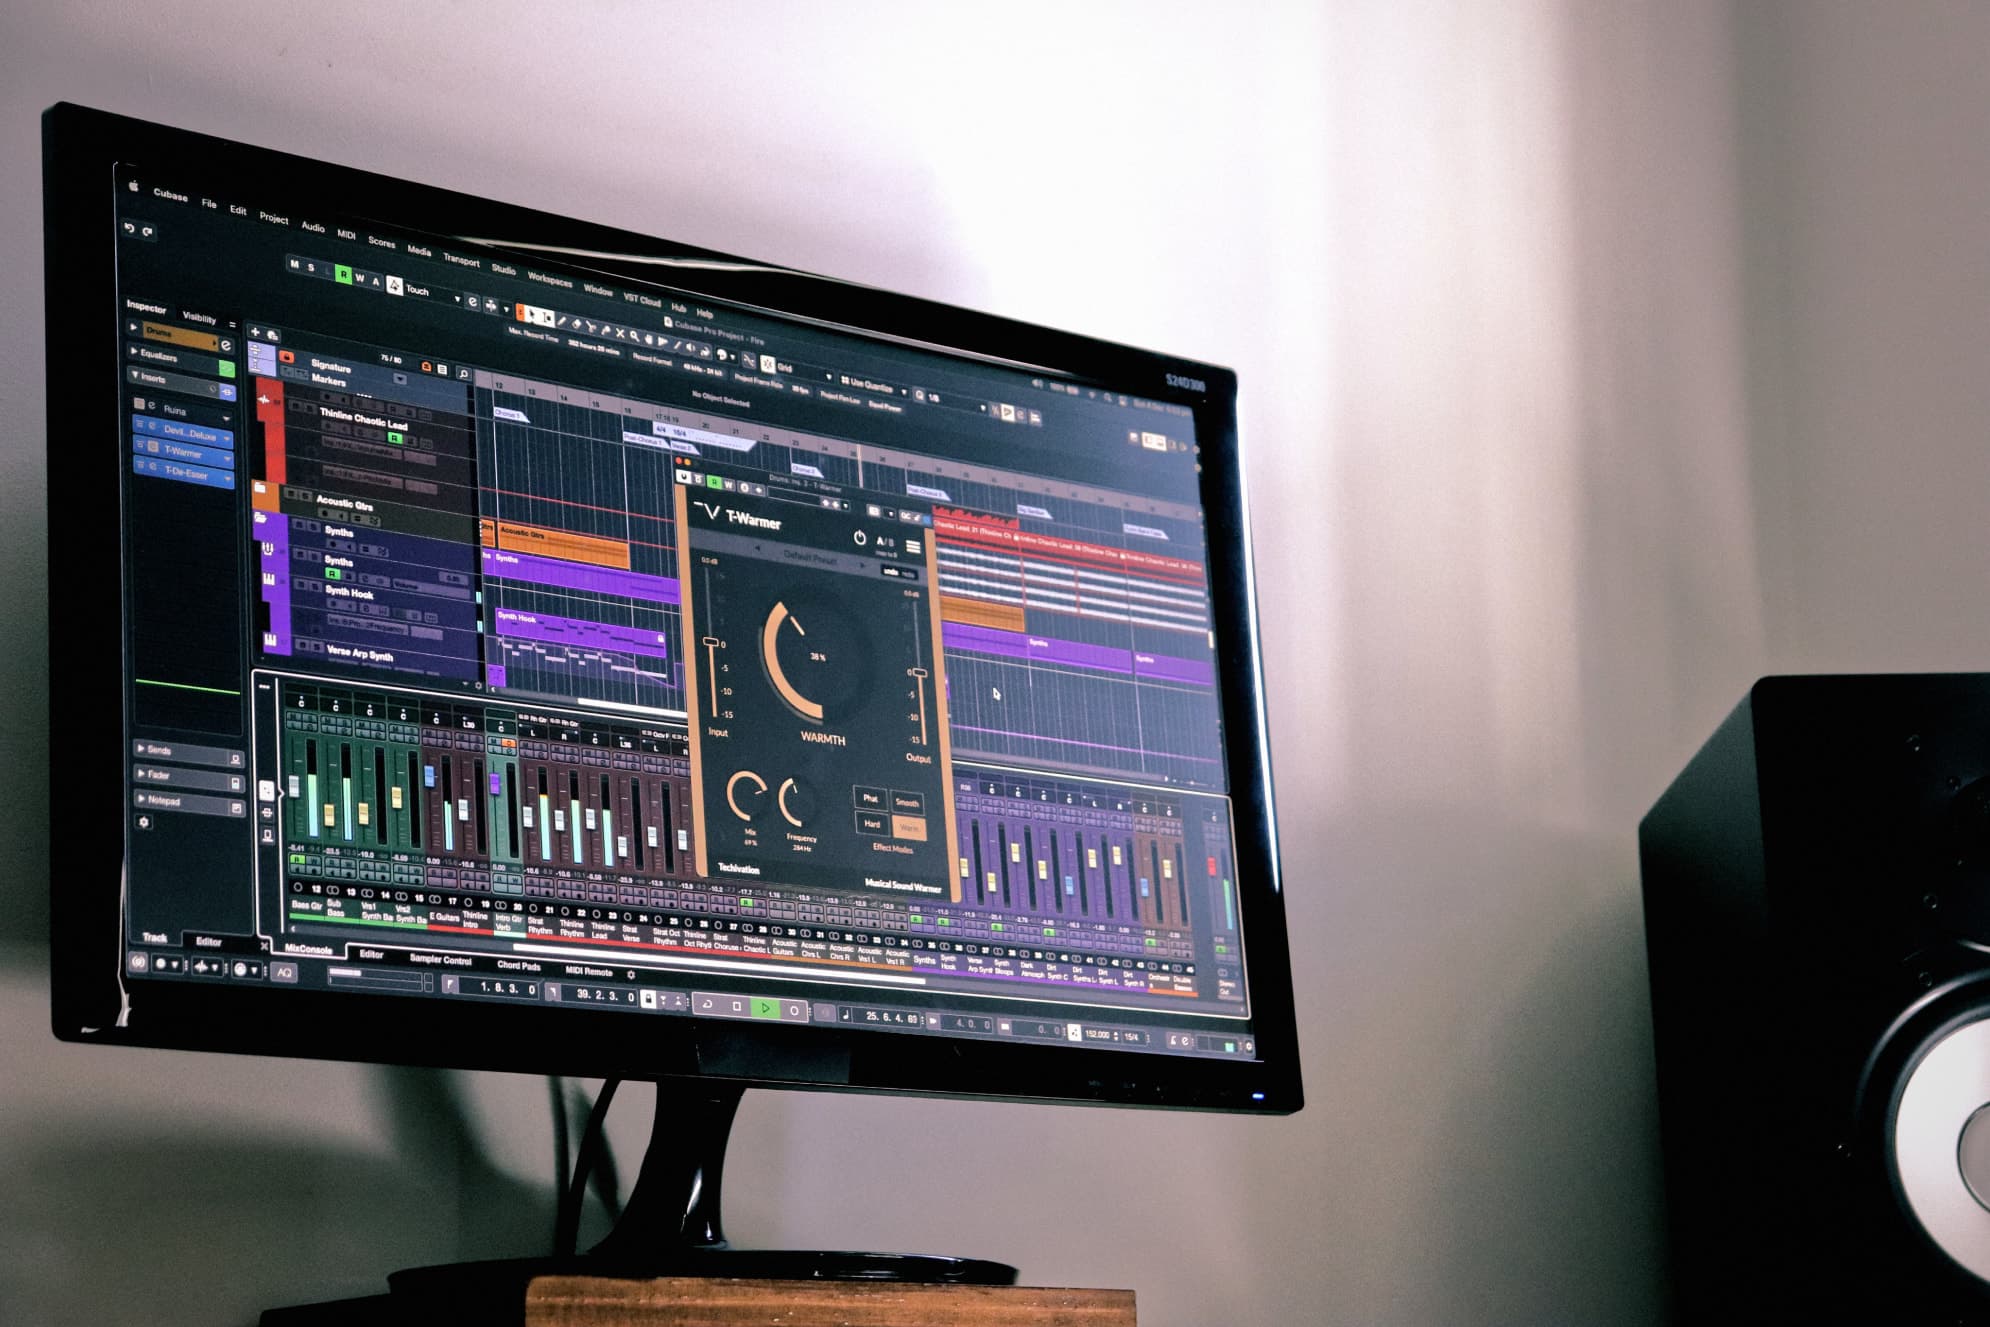
The Effect Modes in T-Warmer and T-Exciter are named perfectly to help you find what you’re looking for. With names like ‘Smooth’ and ‘Warm’, or ‘Shine’ and ‘Air’, you can quickly start adding these characteristics to the mix. Of course, you should try each mode to see which fits best in your song, but the mode names are great starting points.
With many of us these days recording through clean preamps or working exclusively in the box (computer), saturation plug-ins can give some of the same analogue vibe that’s achieved when tracking and mixing through the coloured channels of classic mixing consoles.
Here I’ve taken a mix with drums, bass, and rhodes, and routed everything through a stereo bus track. I’ve used T-Warmer on the ‘Warm’ mode to add (you guessed it) warmth to the low end, and T-Exciter on the ‘Shine’ mode to enhance the highs.
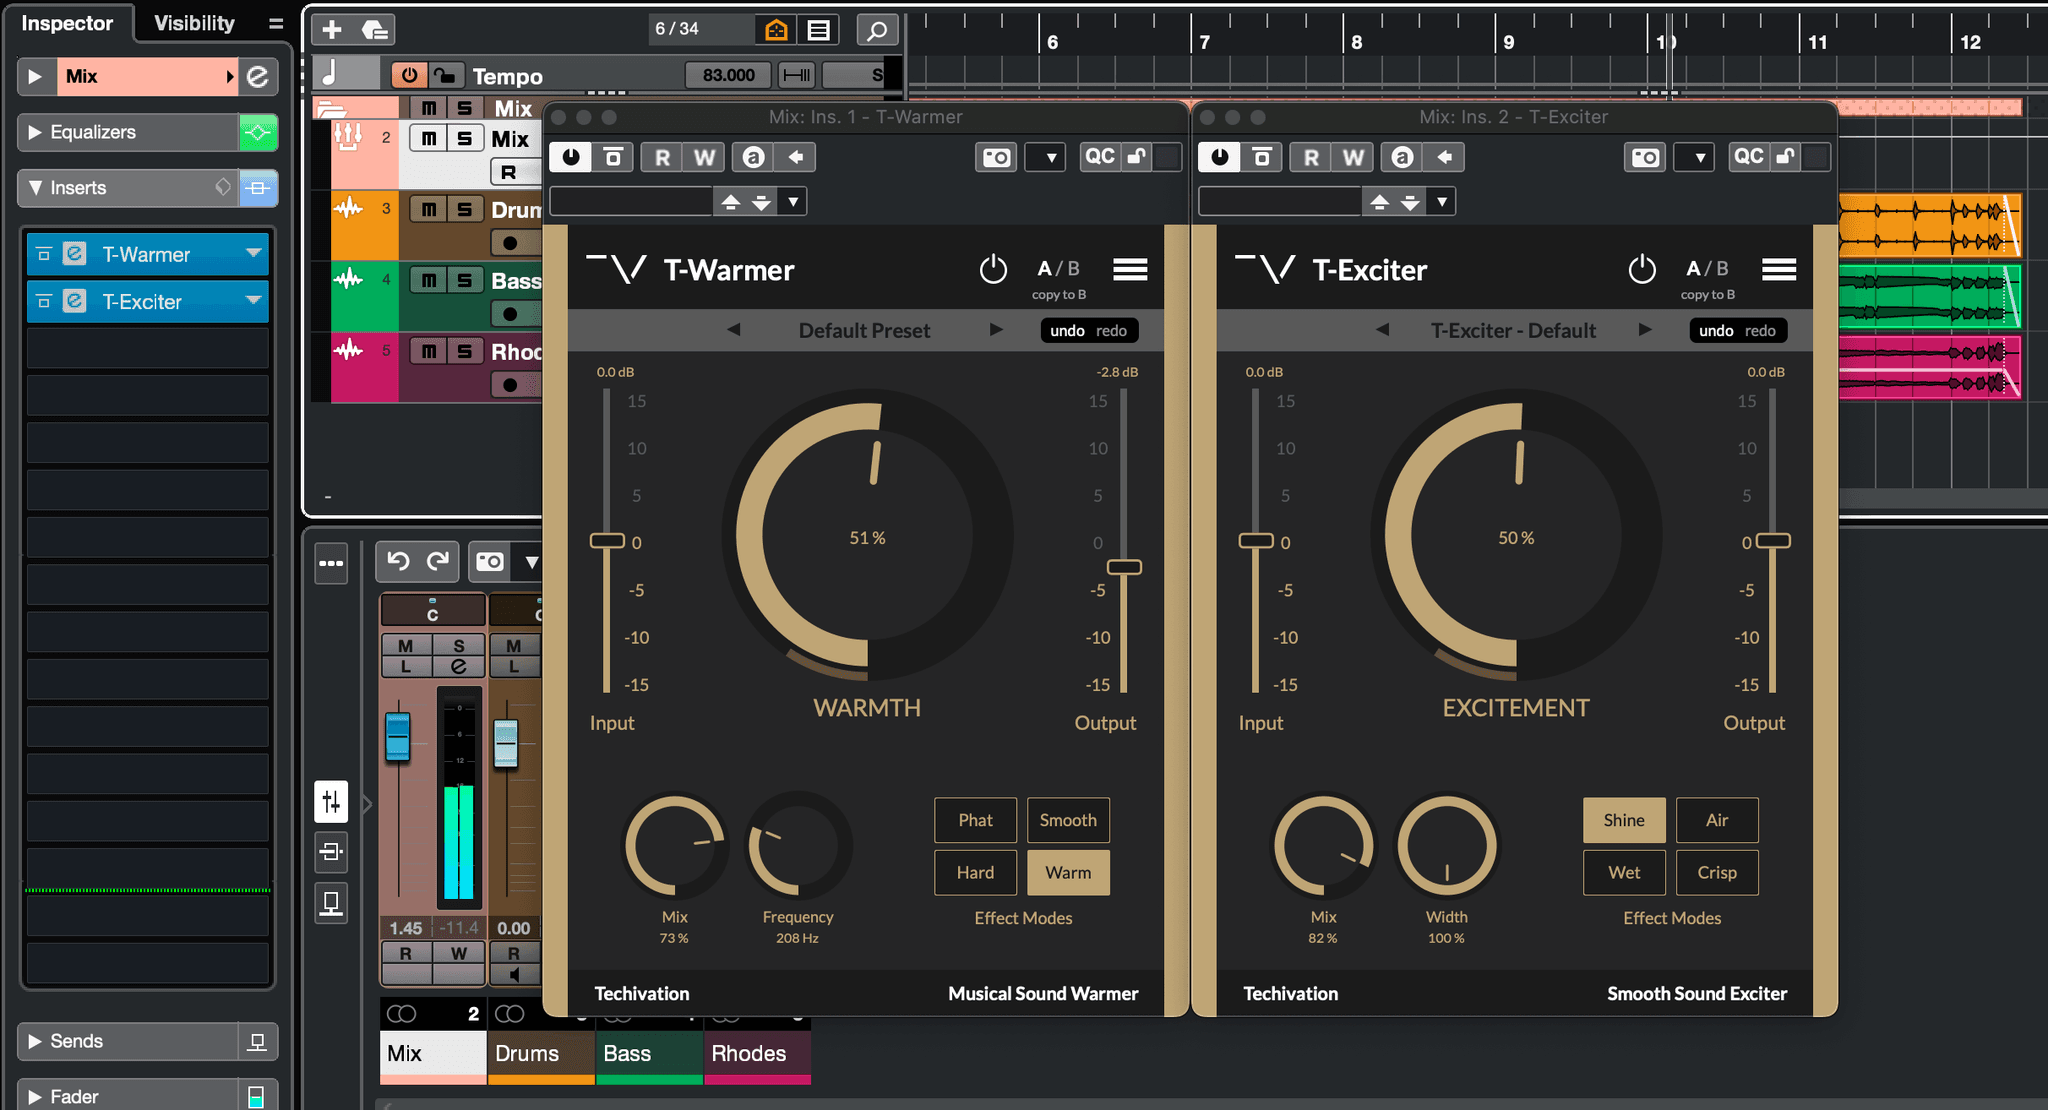
Notice the kick drum is now more rounded and compressed, the bass is smoother, the cymbals and tambourine are more present and airy. The dynamics are more consistent overall, and I love the body that’s been added to the snare!
I didn’t want to go overboard (this time), so subtlety was key, but there is a noticeable difference that helps the mix sound a bit more ‘finished’.
Saturation As A Creative Tool
Okay, now for the fun part: saturation can be an amazing creative tool!
From adding character to boring sounds, to concocting something weird and wacky; there are no rules here, and I find that experimentation often leads to the most interesting results.
You could try stacking multiple saturation plug-ins, placing it before and/or after other effects, cranking the input gain into the saturation to take it into distortion territory. Try putting it on a track that ‘shouldn’t’ be saturated and see what happens!
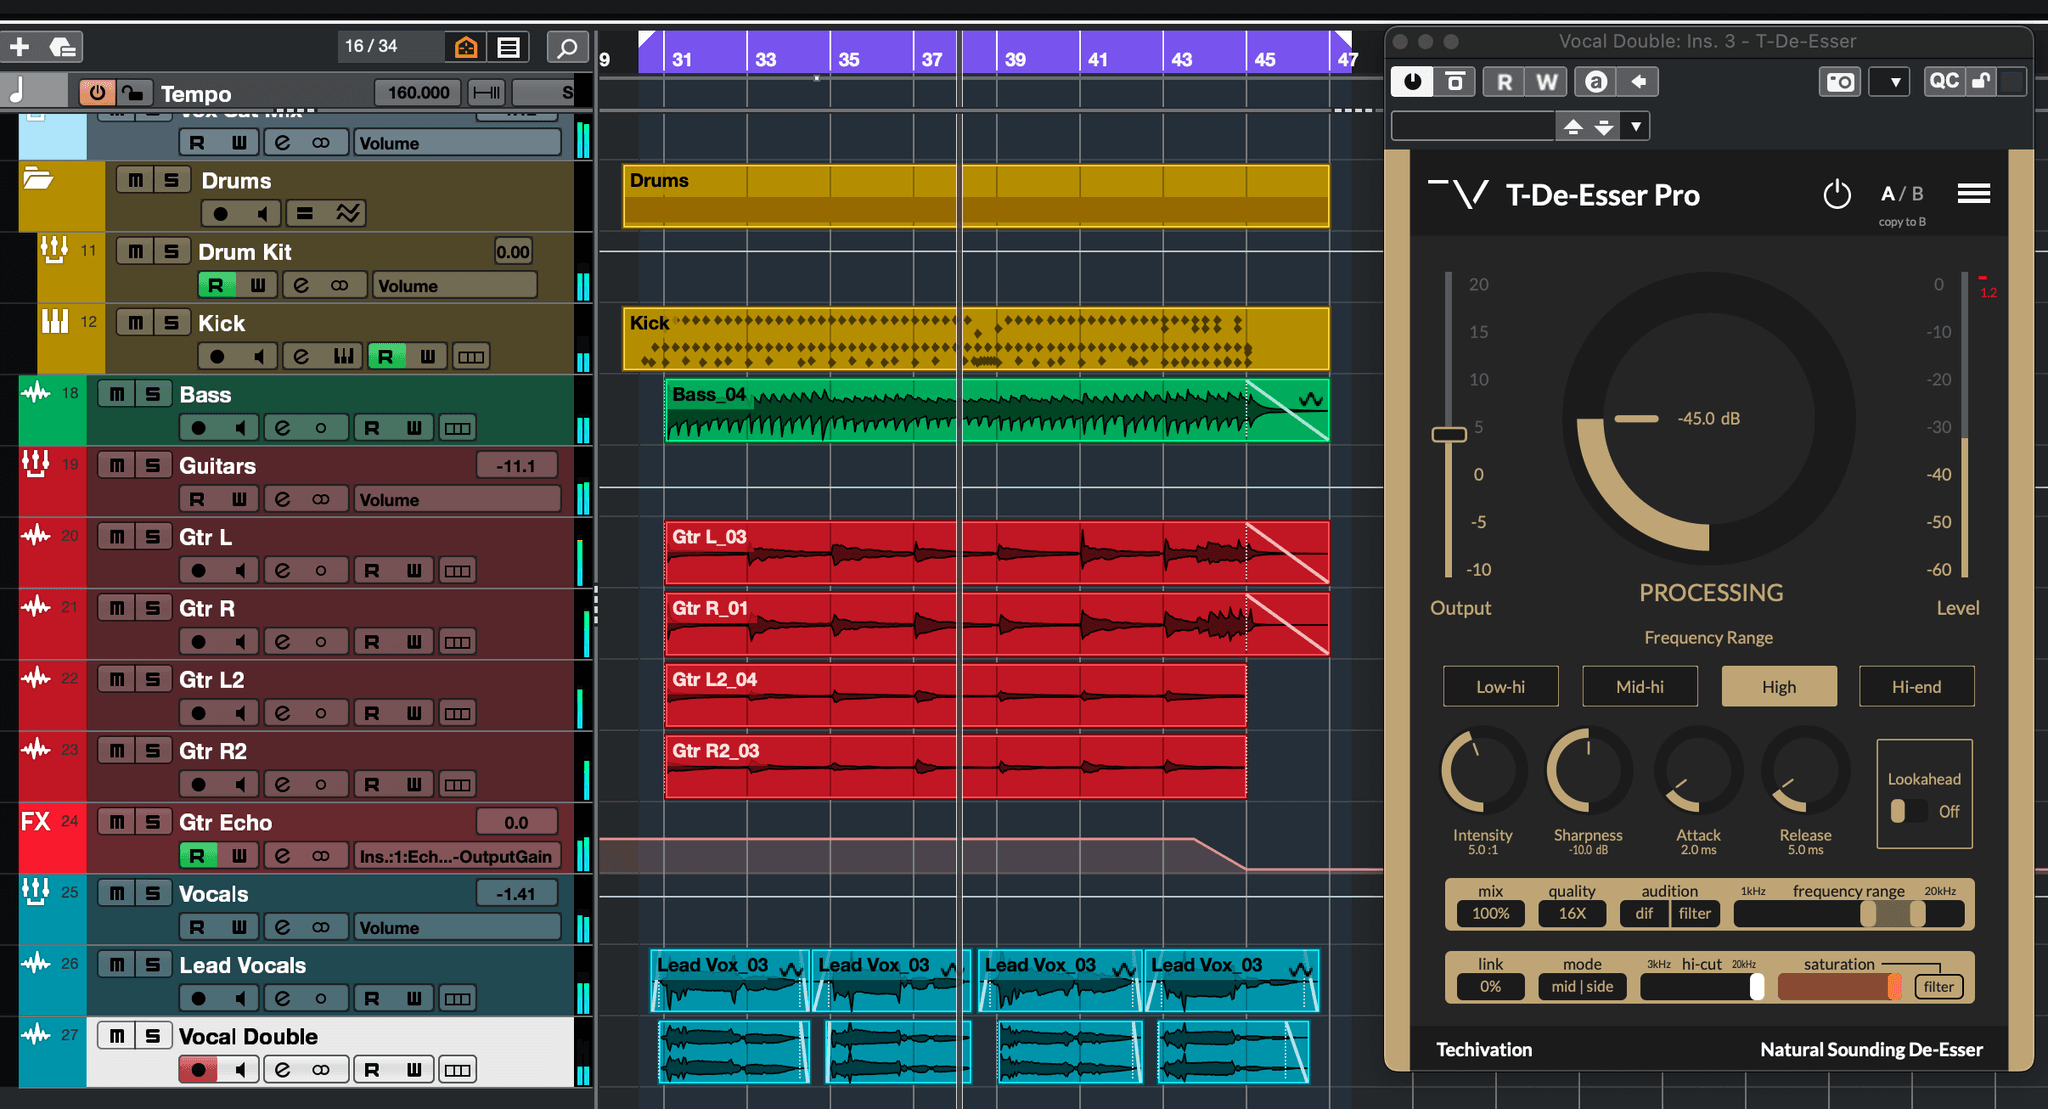
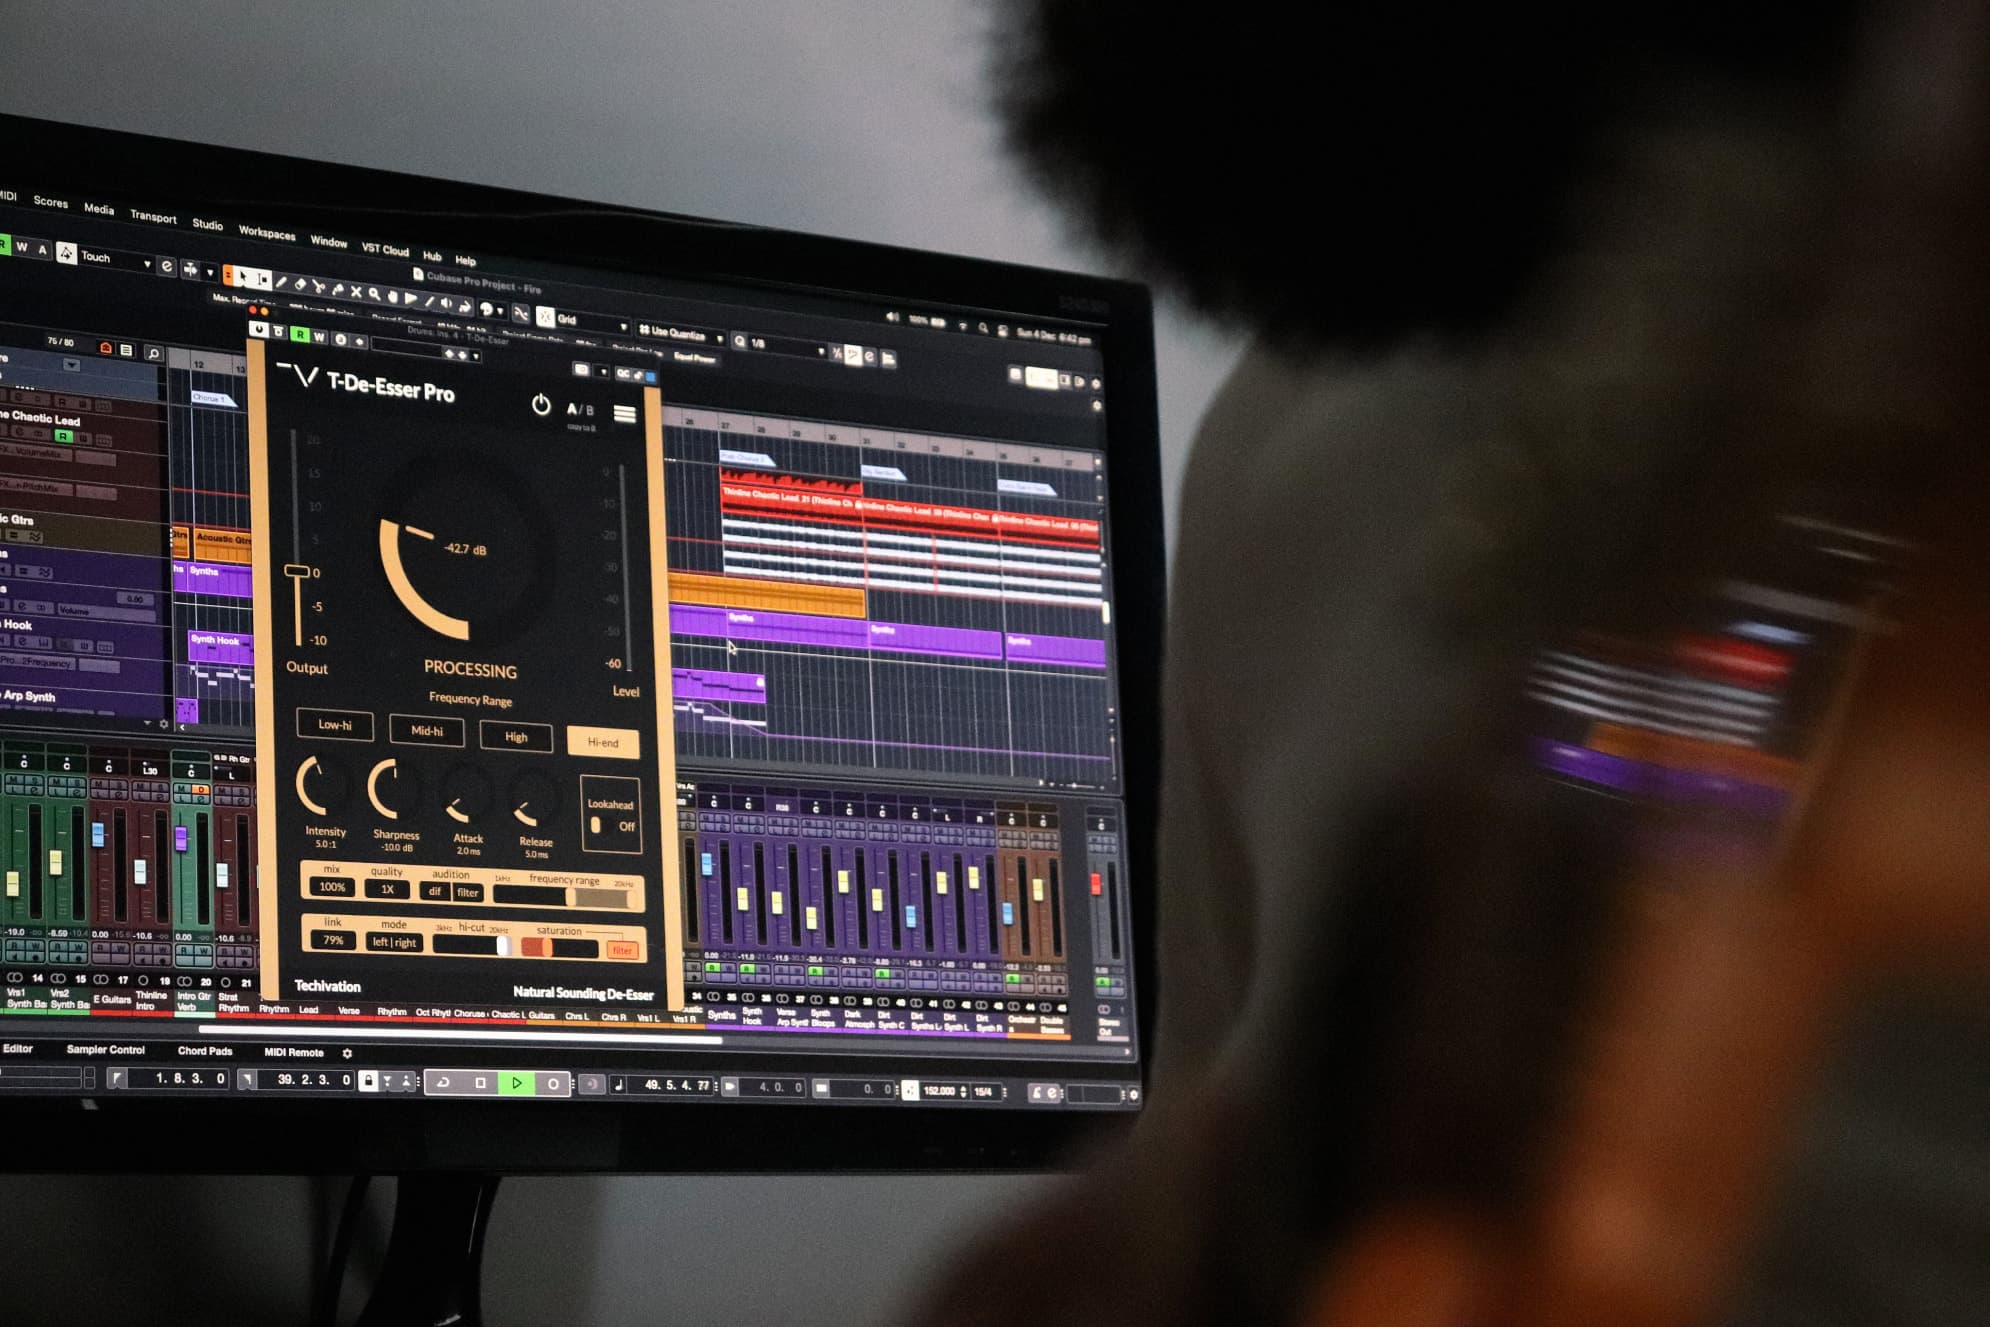
In this first example, I wanted to add grit to the vocals while retaining clarity, so I decided to leave the lead vocal alone and saturate the vocal double instead (a second track singing the same part to support the lead). The double is slightly lower in volume than the lead, and is first going through a doubler and slapback delay to add width and space, followed by T-De-Esser Pro, which I’m using to tame sibilance and saturate.
It’s adding dirt to the vocals and clearing some muddy frequencies, which helps them cut through, but in context is subtle enough to not draw too much attention. It’s almost more noticeable when you take it away, but can of course be blended to taste.
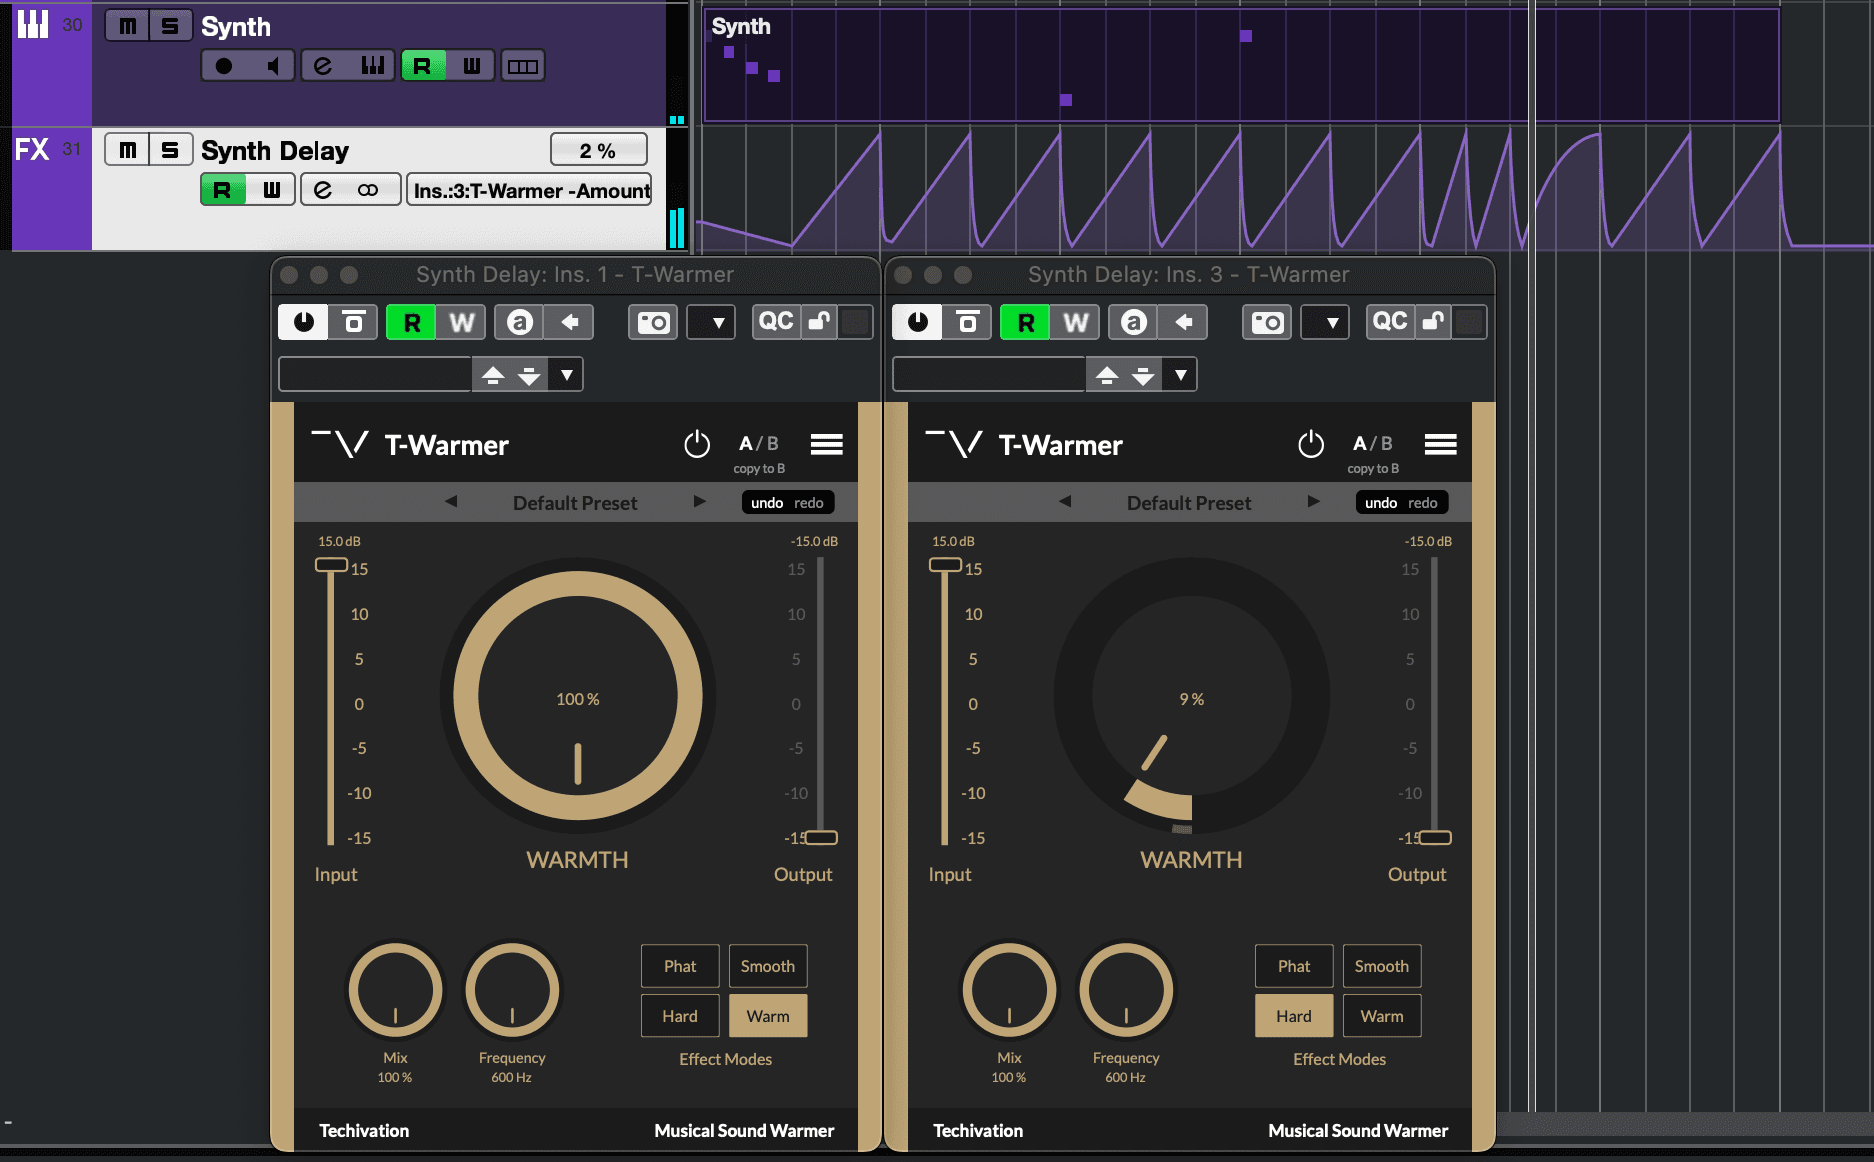
In example two, I’ve got a synth routed to a delay send. I’ve placed T-Warmer both before and after the delay, on the ‘Warm’ and ‘Hard’ modes, both with the input at +15dB (for extra saturation) and output at -15dB (to match the original volume). This runs parallel to the clean signal, so you’re hearing both together.
On the T-Warmer that’s after the delay, I’ve automated the ‘Warmth’ to make the saturation rhythmically rise and fall, creating an interesting effect reminiscent of a sidechain-compressed synth.
Conclusion
Hopefully this has given you some ideas to try on your next mix. You can achieve quite a few different things with saturation, so it’s a great tool to have at your disposal!
Share this Article
Featured in this post

![M-EQ Review By Czar [Video]](/_next/image/?url=https%3A%2F%2Fcdn.sanity.io%2Fimages%2F9uzzx98j%2Fproduction%2F341fd252af5cfdce3815b27290e6ccf6b1185b98-1280x720.jpg&w=2048&q=75&dpl=dpl_DY3t8Ji2bW65MEzvZKBbLdFfe42C)
